


Updated at: 2022-12-09 03:49:50
To use the functionalities of takeover and exercise, you have to install EVKM:
Step 1 Log in to the backup server using SSH and upload AnyBackupEKVM package to a non-system folder.
Step 2 Unpack the package using the command tar -zxvf AnyBackupEKVM Package Name.
Step 3 Unfold the unpacked folder using ls command and run command ./install.sh to install AnyBackupEKVM.
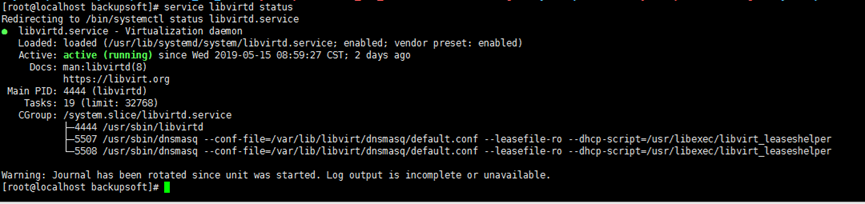
Step 4 Check if libvirtd service is running using the command service libvirtd status. If it is not running, please run command service libvirtd start to start it.
Step 5 Enter /etc/sysconfig/network-scripts directory, copy network configuration file ifcfg-eth0 and rename it as br0 under the same directory. You can refer to the following commands:
cp /etc/sysconfig/network-scripts/ifcfg-eth0 /etc/sysconfig/network-scripts/ifcfg-br0.
Step 6 Open the br0 file by running cat ifcfg-br0 command and modify parameters DEVICE and TYPE to br0 and Bridge respectively.

Step 7 Open the network configuration file eth0 by command cat ifcfg-eth0 and modify parameters as below.

Step 8 Restart the network service using service network restart command.
Restart the libvirtd service using service libvirtd restart command.
Step 1 Log in to the backup server using SSH and upload AnyBackupEKVM package to a non-system folder.
Step 2 Unpack the package using the command tar -zxvf AnyBackupEKVM Package Name.
Step 3 Unfold the unpacked folder using ls command and run command ./install.sh to install AnyBackupEKVM.
Step 4 Check if libvirtd service is running using the command service libvirtd status. If it is not running, please run command service libvirtd start to start it.
Step 5 Enter /etc/sysconfig/network-scripts directory, copy network configuration file ifcfg-eth0 and rename it as br0 under the same directory. You can refer to the following commands:
cp /etc/sysconfig/network-scripts/ifcfg-eth0 /etc/sysconfig/network-scripts/ifcfg-br0.
Step 6 Open the br0 file by running cat ifcfg-br0 command and modify parameters DEVICE and TYPE to br0 and Bridge respectively.
Step 7 Open the network configuration file eth0 by command cat ifcfg-eth0 and modify parameters as below.
Step 8 Restart the network service using service network restart command.
Restart the libvirtd service using service libvirtd restart command.
< Previous:
Next: >