


Updated at: 2022-12-09 03:49:50
F Note: For recovery destination, you can select either the original platform or other platforms. Ensure the following if you choose other platforms:
A. The platform is already successfully added by a system administrator or tenant. For more information, see Adding a Hyper-V Virtualization Platform.
B. The platform is already successfully assigned by a security administrator or tenant. For more information, see Assigning a Hyper-V Virtualization Platform.
C. Currently, only recovery with specified configuration is supported. A new VM will be created on the destination platform.
In the wizard 3, select recovery destination and configure recovery options.A. The platform is already successfully added by a system administrator or tenant. For more information, see Adding a Hyper-V Virtualization Platform.
B. The platform is already successfully assigned by a security administrator or tenant. For more information, see Assigning a Hyper-V Virtualization Platform.
C. Currently, only recovery with specified configuration is supported. A new VM will be created on the destination platform.
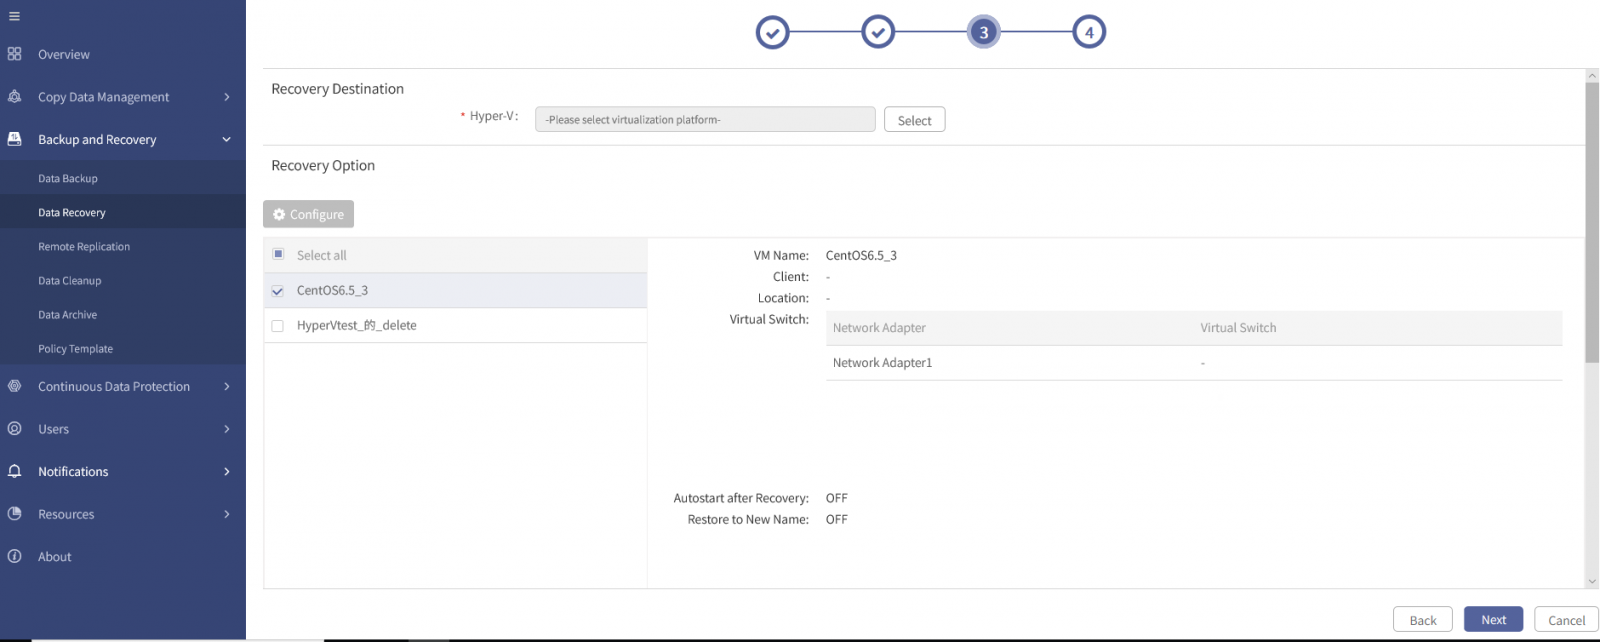
1. Click Select behind Hyper-V under Recovery Destination to open the Select Hyper-V window.
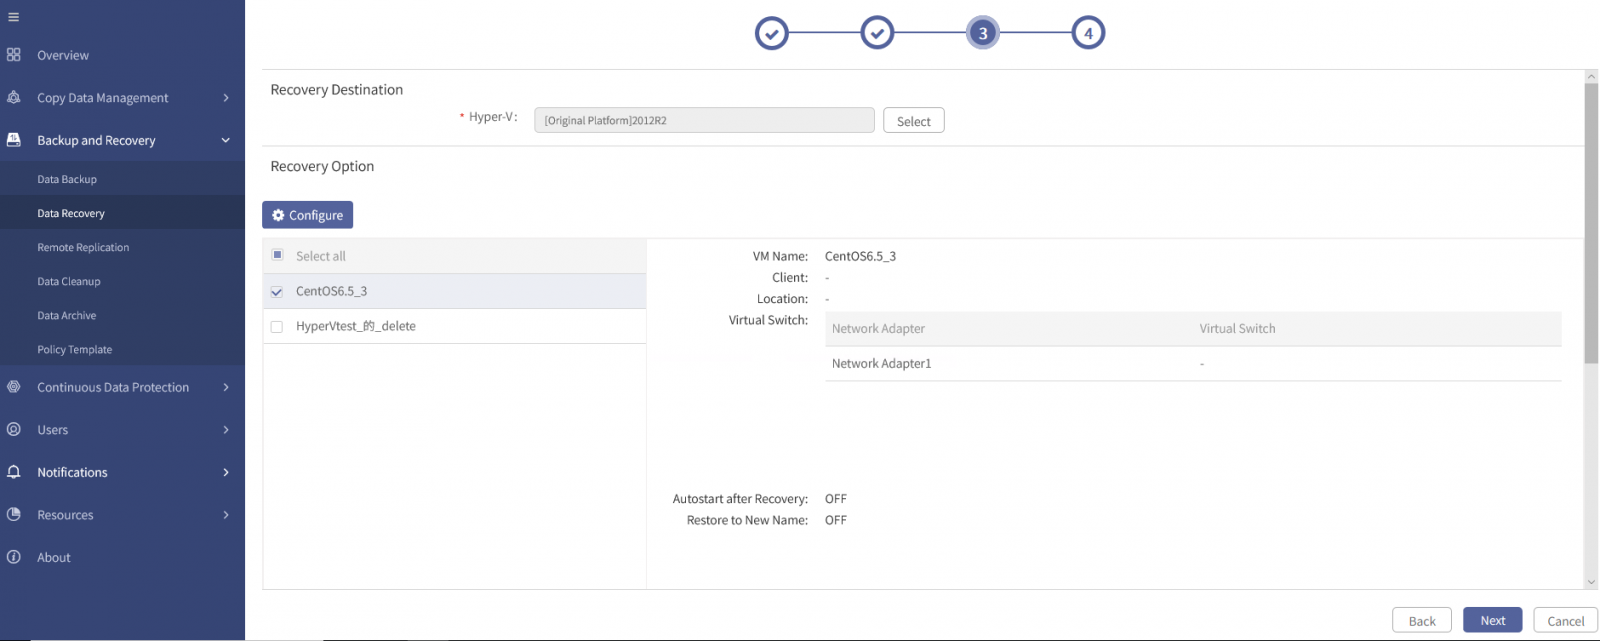
2. Select a Hyper-V virtualization platform, and click OK to go back to the wizard 3.
F Note: Only recovery to the platform with the same version is supported, that is, cross-version recovery is not supported.
3. Tick one or more VMs in the list, click Configure under Recovery Option to open the Configure window.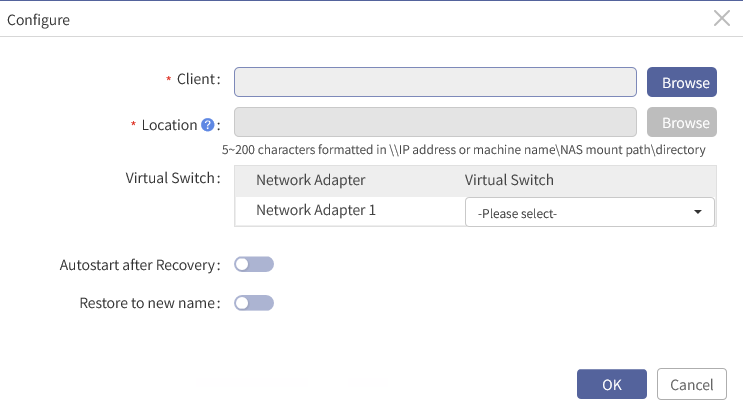
4. Click Browse behind Client, expand the destination virtualization platform, select the recovery client and click OK to go back to the Configure window.
5. Click Browse behind Location, expand the destination virtualization platform, and select the recovery location. You can also input the recovery path manually.
Then click OK to go back to the Configure window.
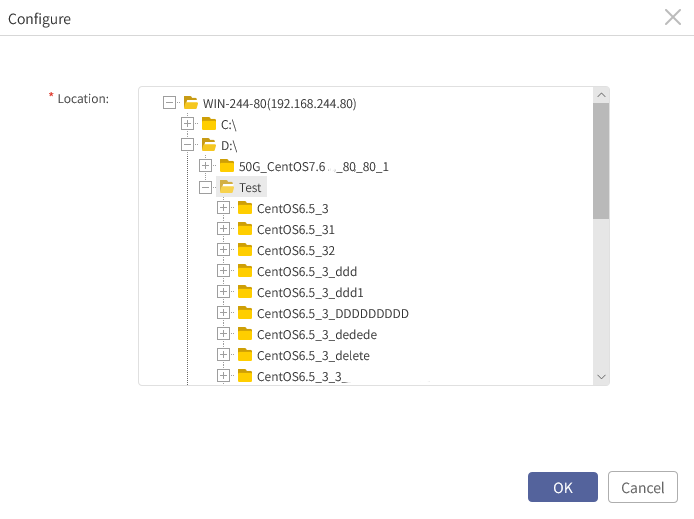
F Note: The node where recovery path resides must share the same active directory domain with the Hyper-V node, and system user must be granted read and write permissions for the path. Otherwise, the Hyper-V manager cannot access to VM files.
6. You can choose to configure a virtual switch. Click Please select under Virtual Switch to choose a virtual switch.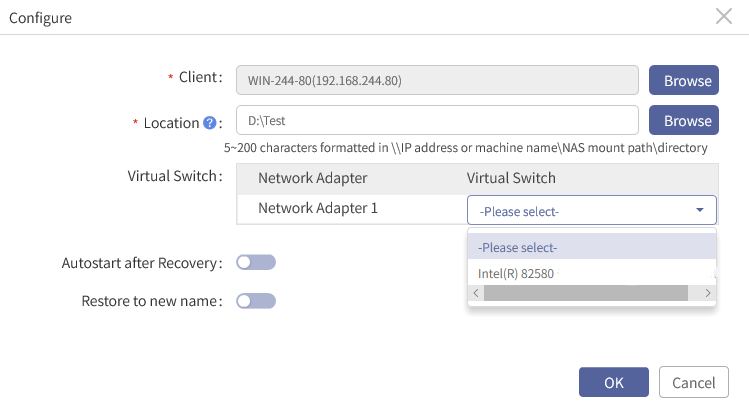
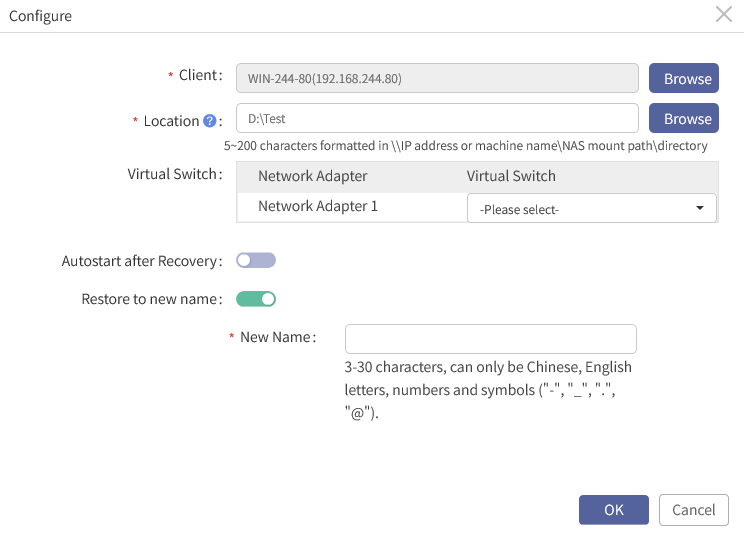
7. You can also choose to configure Autostart after recovery and Restore to new name.
§ Autostart after recovery: VMs will be automatically started after successful recovery if this option is enabled.
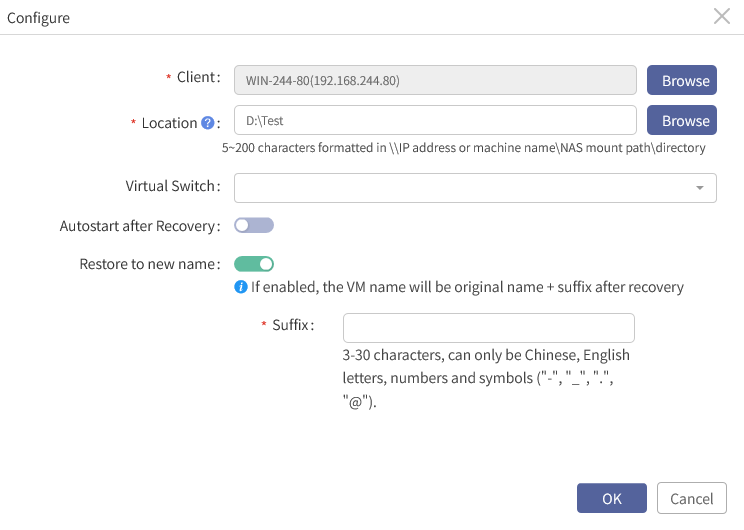
§ Restore to new name: A new VM name will be used after successful recovery if this option is enabled. After enabled, you must set a New Name or Suffix.
F Note: If multiple VMs are selected for batch configuration, the New name field will be changed to Suffix, that is, the VM name will be original name + suffix after recovery. Naming requirements: 3-30 characters, can only be Chinese, English letters, numbers and symbols (“-”,“_”,“. ” and “@”).
After configuring the options above as needed, click OK to go back to the wizard 3 to continue.
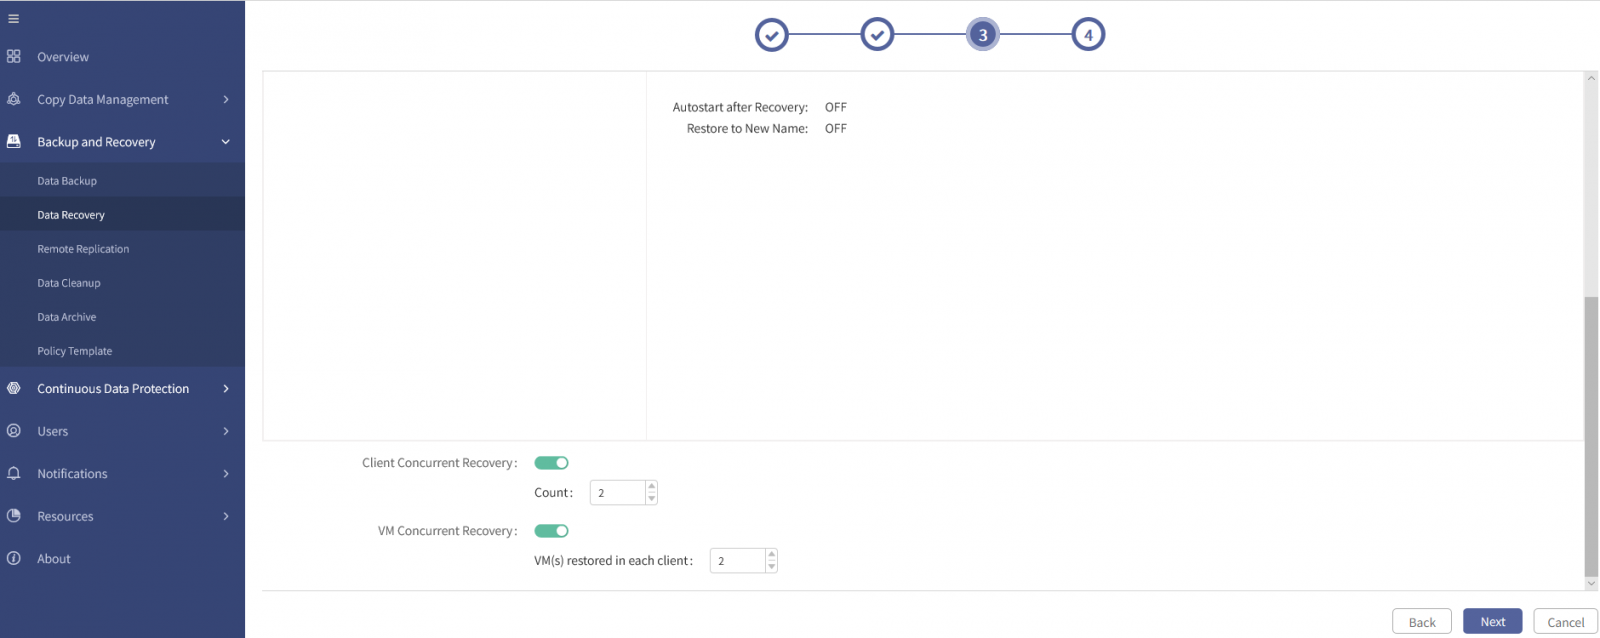
8. Configure Client Concurrent Recovery and VM Concurrent Recovery. You must configure the concurrency of cloud transfer if you want to restore data in the object storage.
§ Client Concurrent Recovery: VMs on Multiple Hyper-V nodes can be restored at the same time if this option is enabled.
§ VM Concurrent Recovery: Multiple VMs on each Hyper-V node can be restored at the same time if this option is enabled.
§ Concurrency of Cloud Transfer: The number of threads enabled in a cloud recovery job.
F Note:
A. When the client concurrent recovery option is enabled, the concurrent recovery number must be set in the range of 2 to 10.
B. When the VM concurrent recovery option is enabled, you must set the VM concurrent recovery number per Hyper-V node in the range of 2 to 10.
C. Concurrent recovery options can affect the recovery performance of jobs. With proper configuration, it can improve the recovery speed greatly, but higher concurrency does not mean better performance. The specific performance is determined by the resource allocation of your management console, storage server and Hyper-V virtualization platform.
D. The concurrency of cloud transfer is 8 threads by default, and 1-64 threads can be configured. The recovery speed can be adjusted by configuring the concurrency of cloud transfer. With the increase of concurrency, the recovery speed can reach the peak, but the consumption of memory, CPU and other resources will also increase accordingly.
< Previous:
Next: >