[Server Management] in the Deployment Console can help administrators manage clusters and set nodes in different patterns, an administrator can click on [Server Management] on the left side to enter the corresponding page.
Node Information
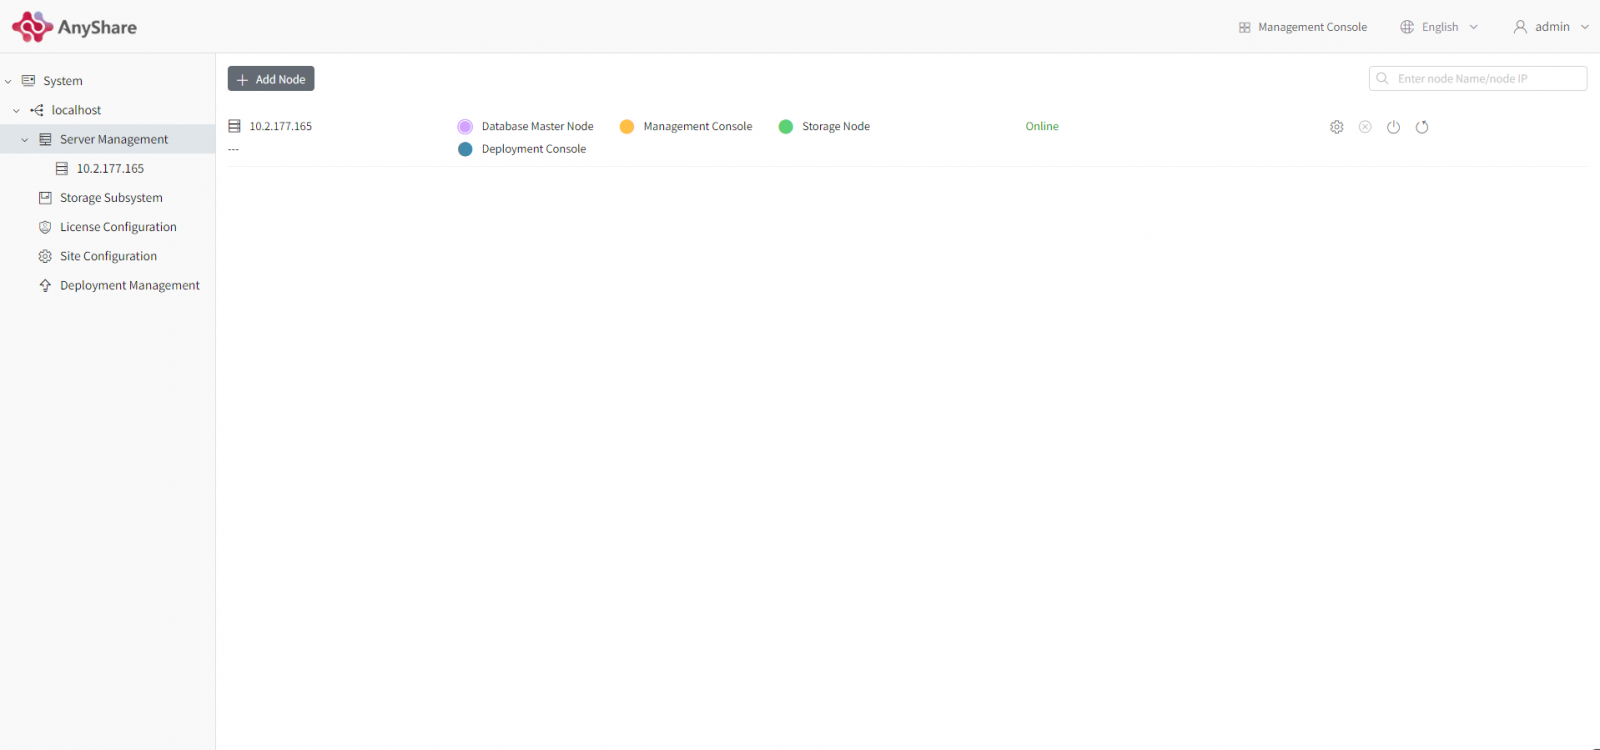
An administrator can enter the [Server Management] page to view the name, the IP address, the role and the online status of the nodes in the cluster, or view the nodes’ details in [Server Management] → [Server Details].
- Rules of Node Roles
A node can have multiple node roles at the same time including the Deployment Console, the Management Console, the high availability master/slave node, the database master/slave node, and the storage node;
Deployment Console: The default role of the initial node is not allowed to be manually removed or changed into other nodes;
Management Console: The application Management Console cannot be opened until the role is set;
Database Master Node: It is a required role. After it is set, it is not allowed to be manually removed or changed into other nodes; master nodes correspond to each other, only the database master node can be the high available master node;
Database slave node: The master node of the database corresponds to the slave node, that is, only when the master node of the database exists, can the slave node of the database be added. The slave nodes correspond to each other, and only the database slave nodes can be the high available slave node.
Note: When the user uses the third-party external database, the node cannot be the master/slave node of the database and the Deployment Console will add a database subsystem on the left sidebar [storage subsystem].
Storage Node: When the built-in Eswift storage is used and there have been disk devices added to the storage pool, the storage node role cannot be directly removed and the corresponding disk device needs to be removed first; when the user selects the local Ceph storage / third-party storage, the node cannot be the storage node;
Note: It is not recommended to remove the storage node role, which may result in data loss.
High availability master/slave node: A highly available master node corresponds to a slave node, which means that only when there is a highly available master node, can a highly available slave node be added. If there is a highly available slave node, the role of the highly available master node cannot be directly, and the highly available slave node needs to be removed first;
- Server Management Mode
The roles of the nodes are also affected by the server management pattern which can be divided into the fixed pattern and the flexible pattern.
Fixed pattern: When users add nodes, the system will automatically set the role of nodes; assuming that the initial node of the Deployment Console is A, the order of the remaining nodes, B, C, D, etc. is based on the adding sequence by an administrator.
Initial Node A: With the node roles including the deployment console, the management console, the database master node, and the storage node roles by default; only the initial node A can be set as the high available master node, and the role of it is highly available by default globally; the roles of the management console, the storage node, and the high availability master node can be manually removed;
Node B: It by default has three roles: the management console, the database slave node, and the storage node; only node B can be set as the high available slave node; the roles including the management console, the storage node, and the highly available slave node can be manually removed;
Node C, D, among others: By default, it only has two roles: the management console and the storage node; this node and the subsequent ones can only be two kinds of roles: the management console and the storage node by default.
Flexible Pattern: Users can freely choose the node roles when adding nodes; in AnyShare, users are only required to give the Deployment Console role to initial nodes on-demand rather than others.
- LVS Load Switch
After the high availability master/slave node is set, the administrator can ensure the LVS load balance of each server node by turning on the LVS load switch; when it is turned on, if the corresponding nodes go wrong, the request will be balanced transferred to different servers for execution, and the scheduler will automatically shield the bad node.
Note: After setting the high availability node, the LVS load balance switch is turned on by default. It is not recommended to turn off the switch to prevent a node from having a high load, which may lead to wrong cluster services.
Process Node
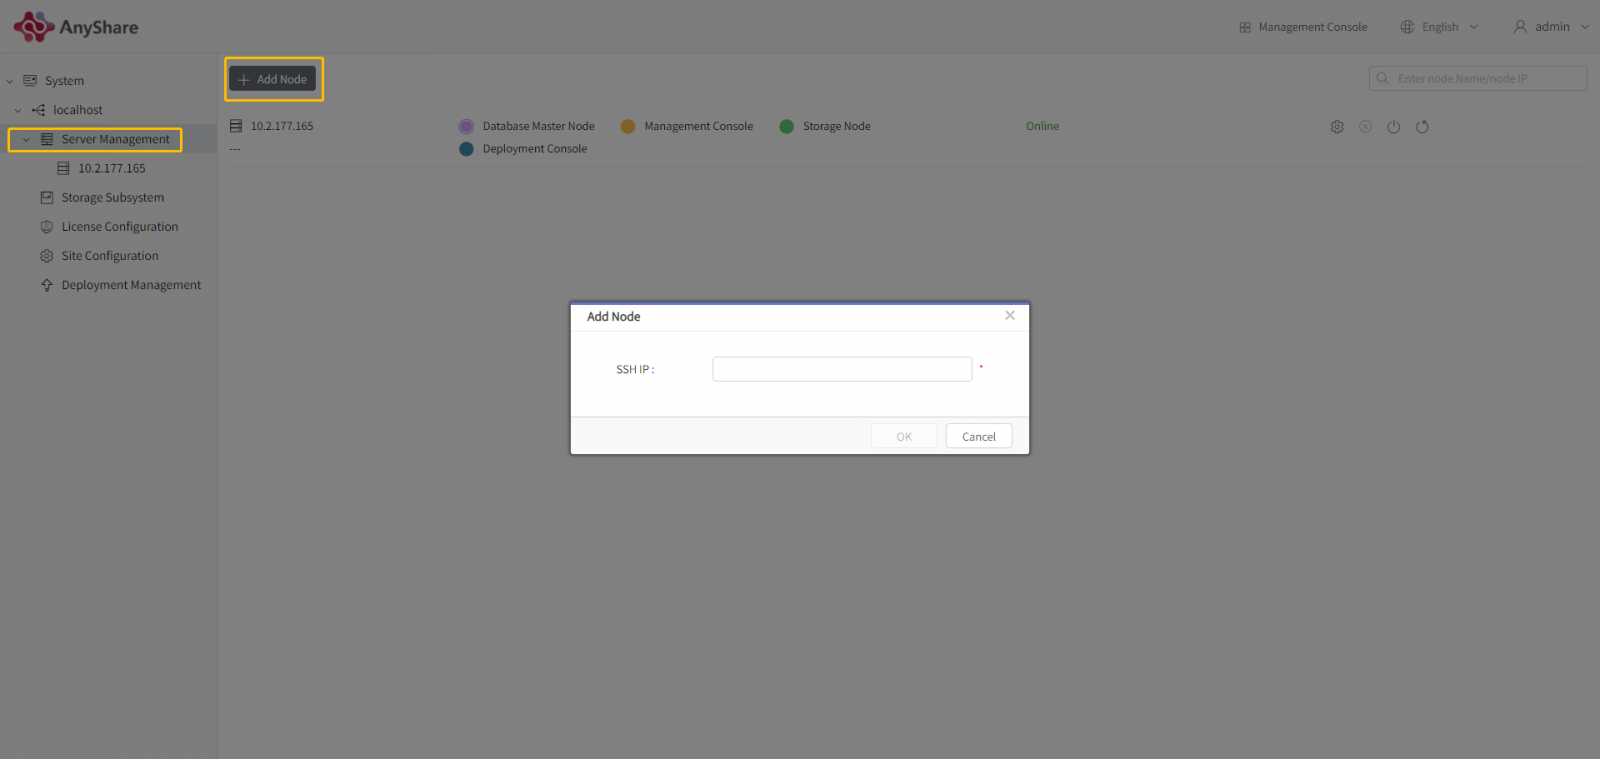
- Add Nodes
The administrator enters the [Server Management] page, click on [Add Nodes] in the upper left corner, input the corresponding IP address in the “add node” pop-up box, and click on [OK] to add the node successfully;
Note: When the server management is in the fixed pattern and there is no database slave node, the [Quickly Set Database Slave Library] option appears in the “add node” pop-up box and the administrator can check the option: Quickly Set Database Slave Library by Application Physical Replication.
- Delete Nodes
Before deleting a node, you need to remove all roles of the node. Then, the administrator can delete the node by clicking on the button (the delete icon) on the right side of the node information column on the “Server Management” page. The initial node cannot be deleted.
Note: Deleting nodes without permission is easy to cause data loss⚠. Please contact AnyShare manufacturer before removing nodes.
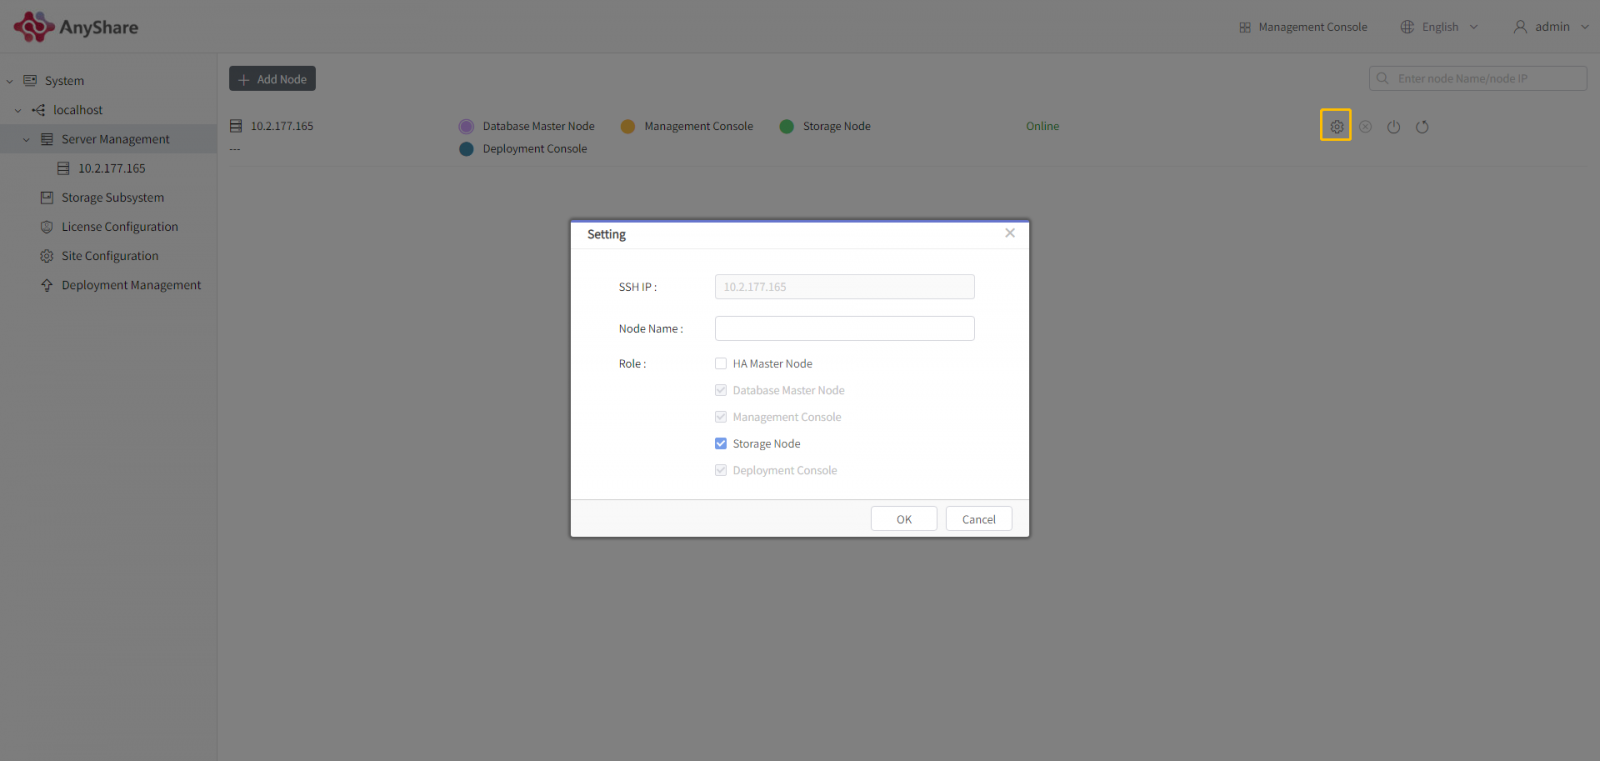
- Set Nodes
Click on the button on the right side of the node information column in the [Server Management] page to set node names and roles. Different server management patterns bring different kinds of node settings.
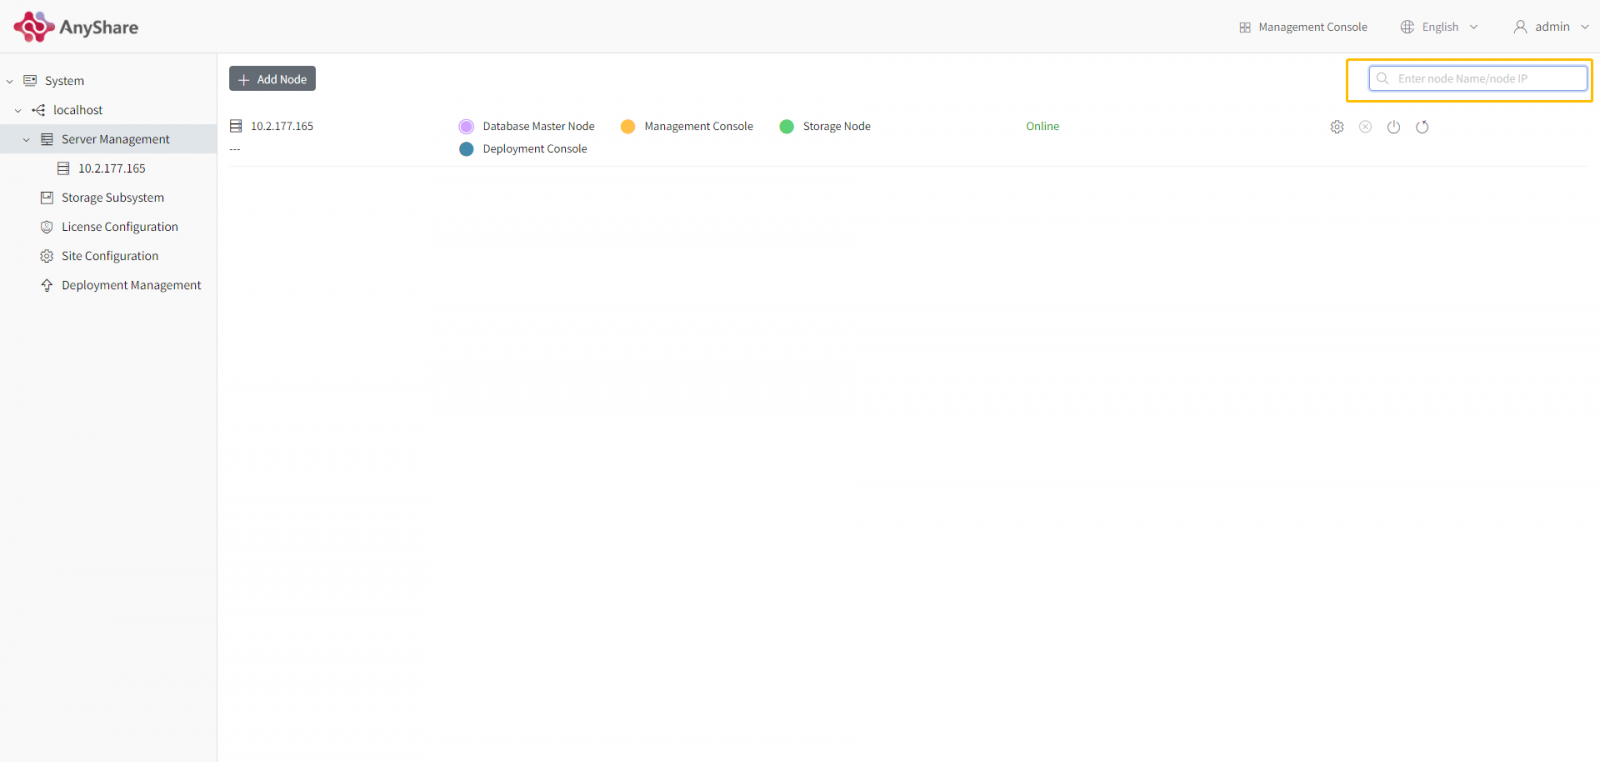
- Search for Nodes
An administrator enters the [Server Management] page and inputs the node name/node IP in the search box at the upper right corner to find the specific node.
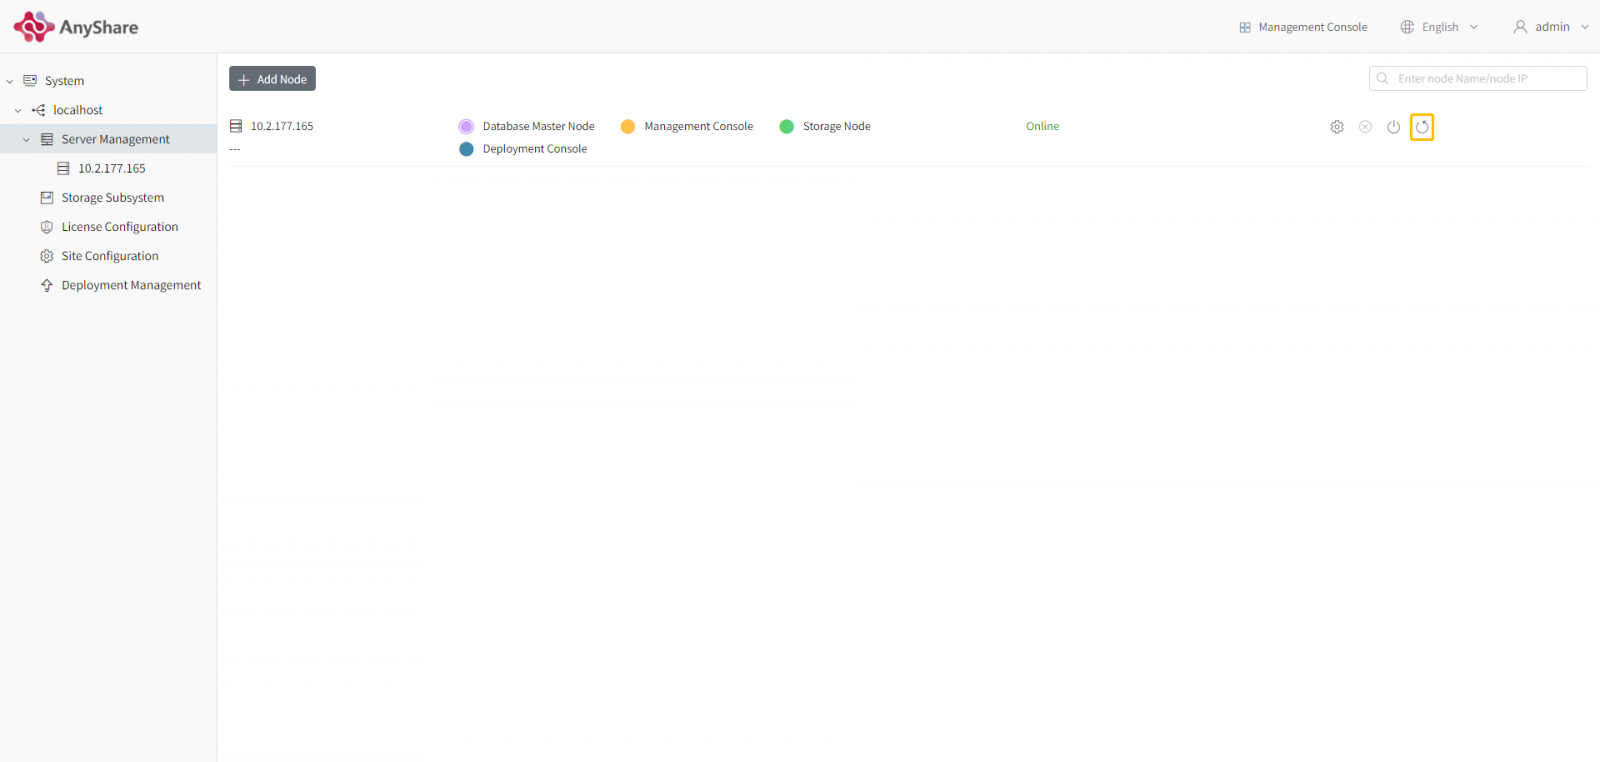
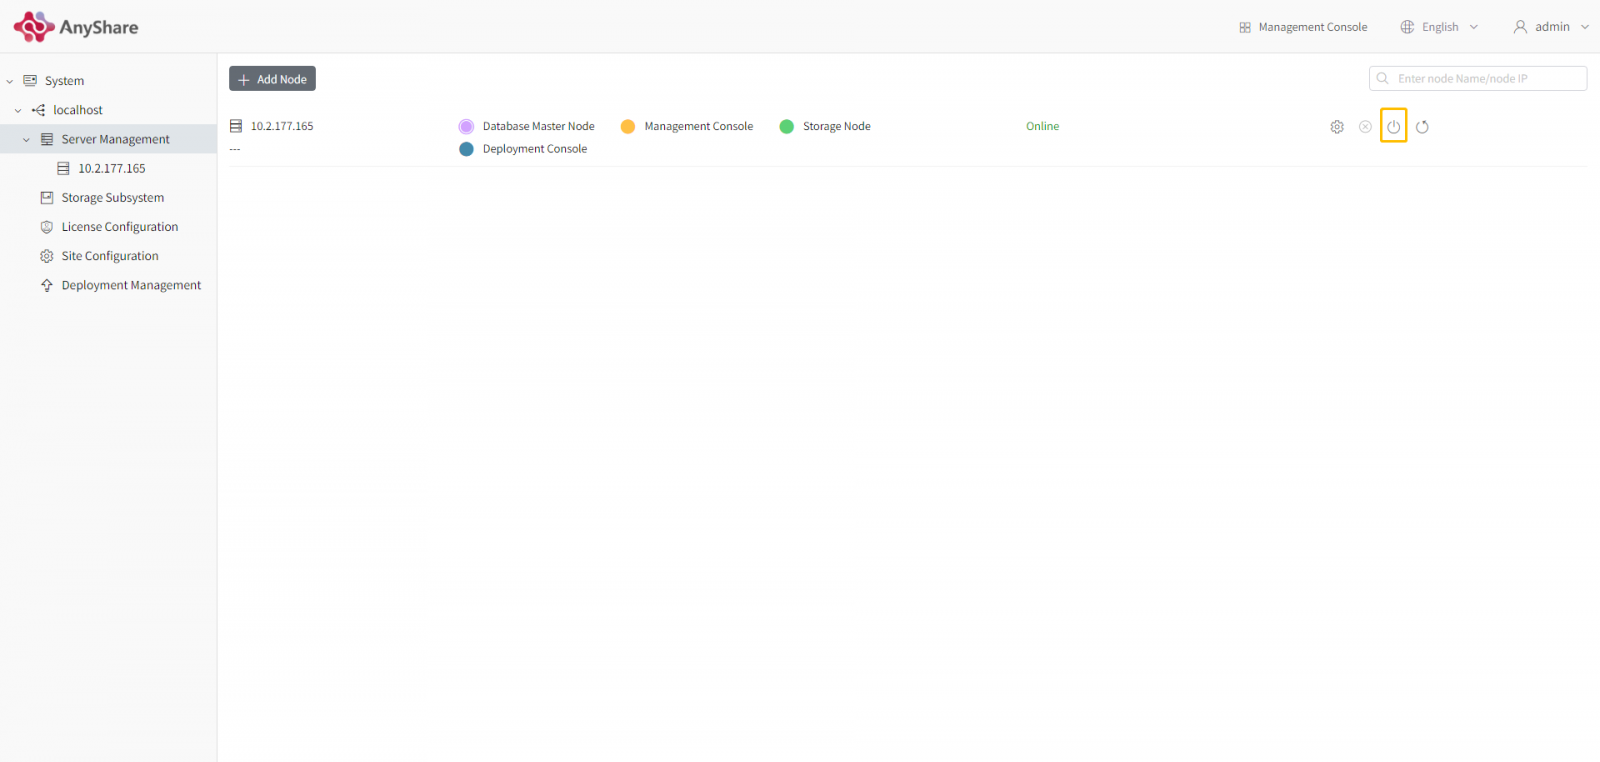
- Restart Nodes
Click on the right button (restart icon) of the node infobar in the [Server Management] page to restart the node.
Note: When the master node server is restarted, the master-slave node of the cluster system will be swapped for each other and the existing slave node server will be the new master node server.
- Restart Services
Click on the right button (restart icon) of the node infobar in the [Server Management] page to restart the node related background services.