


Updated at: 2022-12-09 03:49:50
I Operating SystemCentOS7.7
Compatible with RedHat7.7
II RAID Configuration
Note: It is only applied to all-in-one computers rather than software editions.
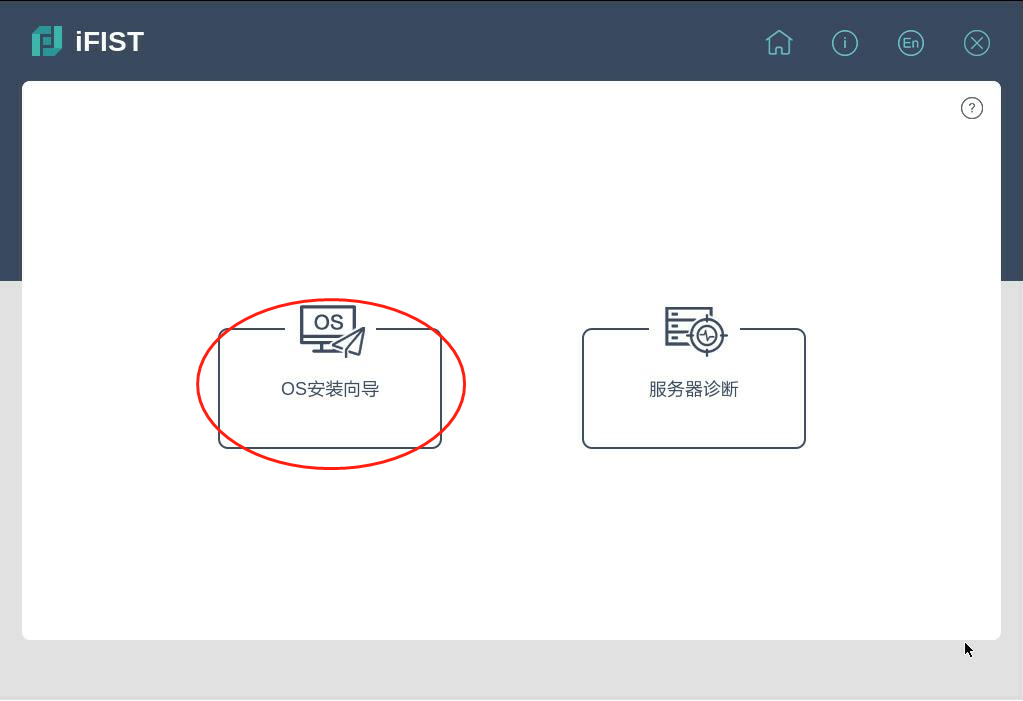
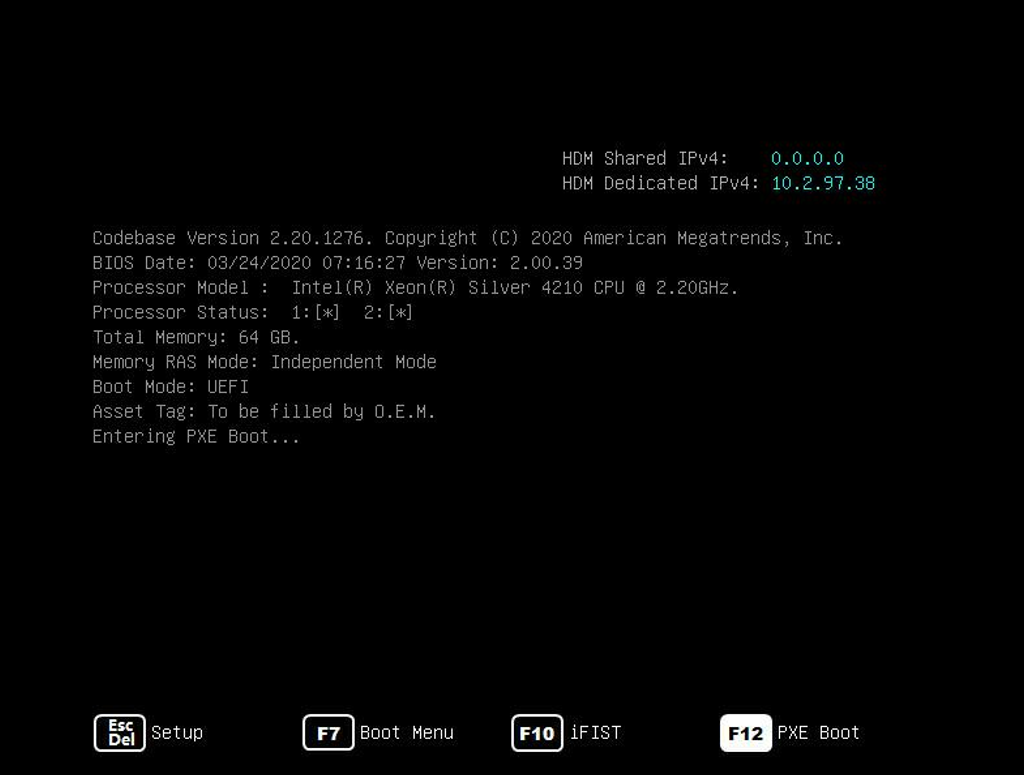
1. Press F10 to open the configuration interface.

2. Choose [OS Setup Guidance];
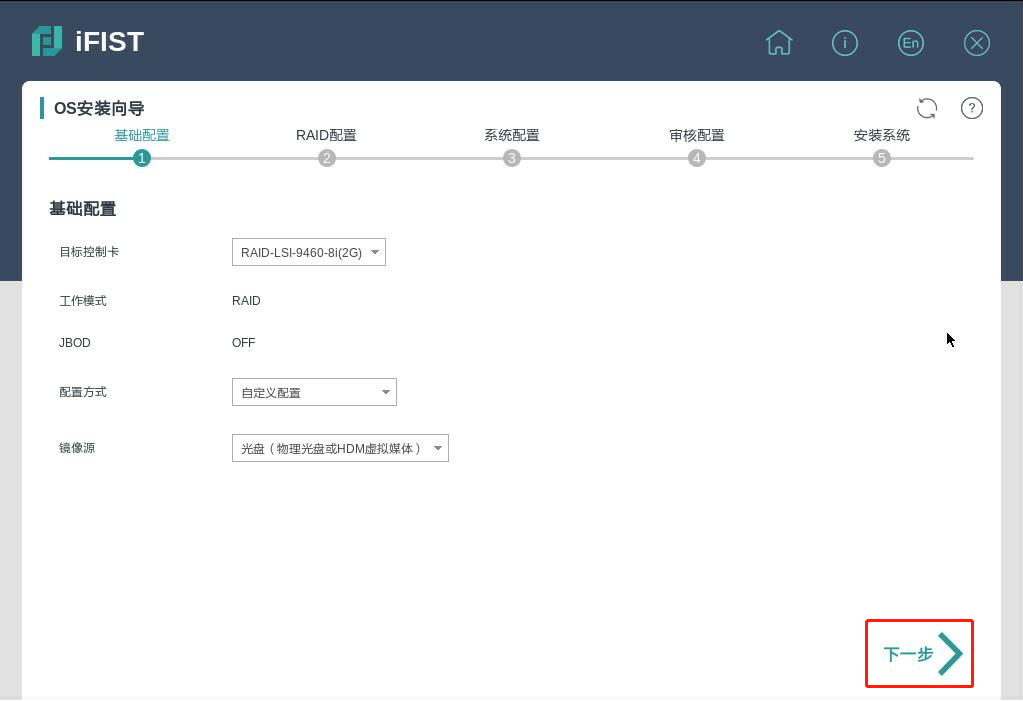
3. Choose [Next];
4. Choose and delete the two SSD where RAID needs reconfiguring;
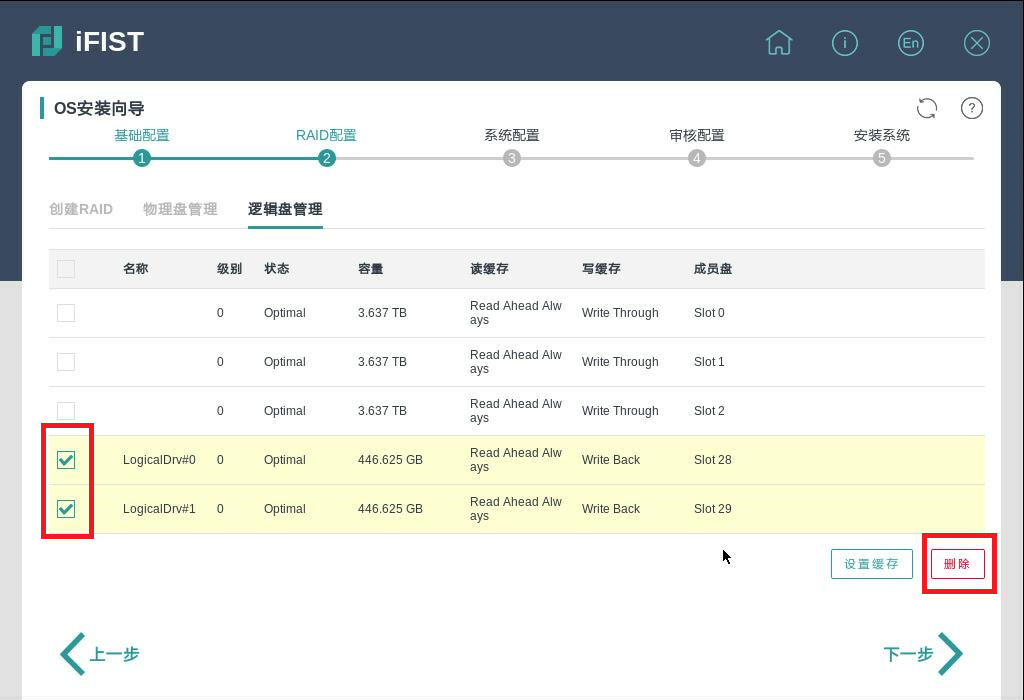
5. The interface below means successful deletion;

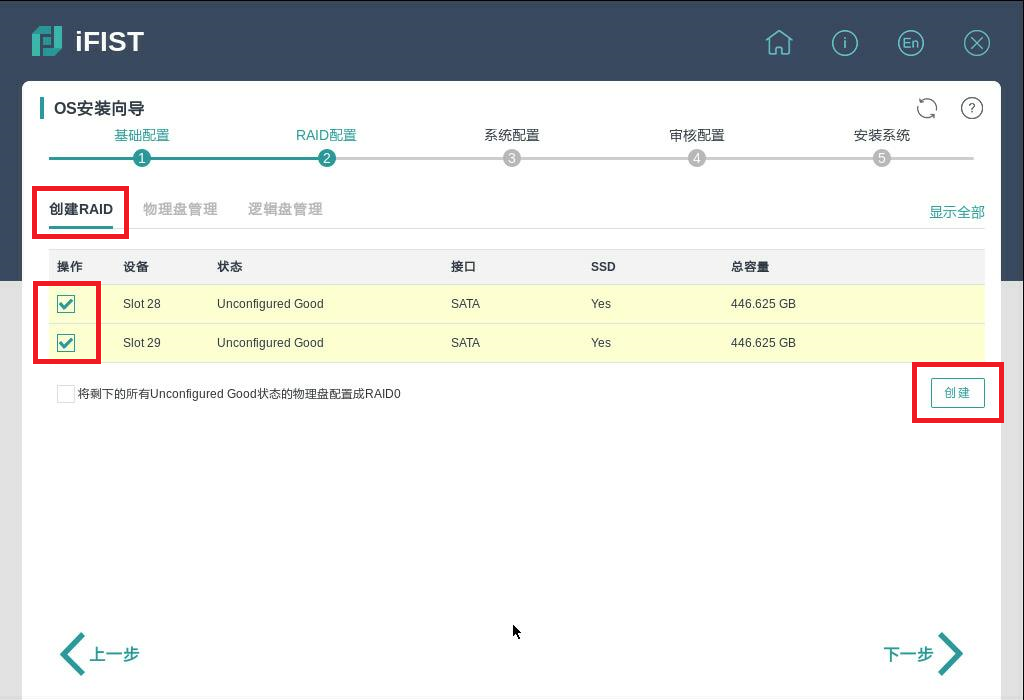
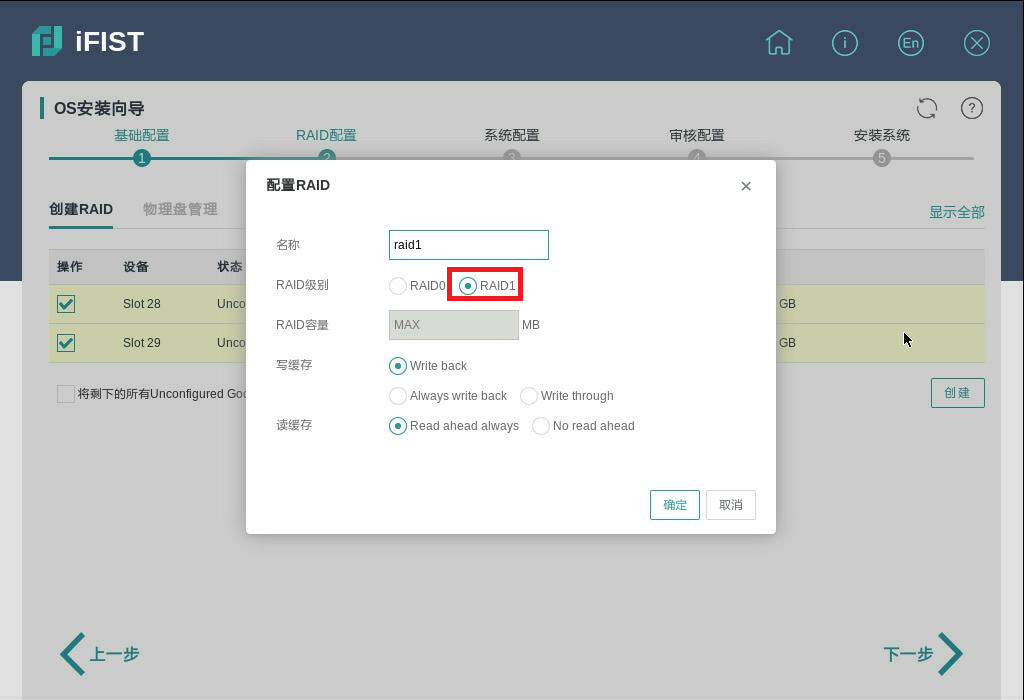
6. Click on [Create RAID] to choose the disks where you want to create RAID then click on [Create];
7. Name it, choose the RAID level [RAID1], and click on [OK];
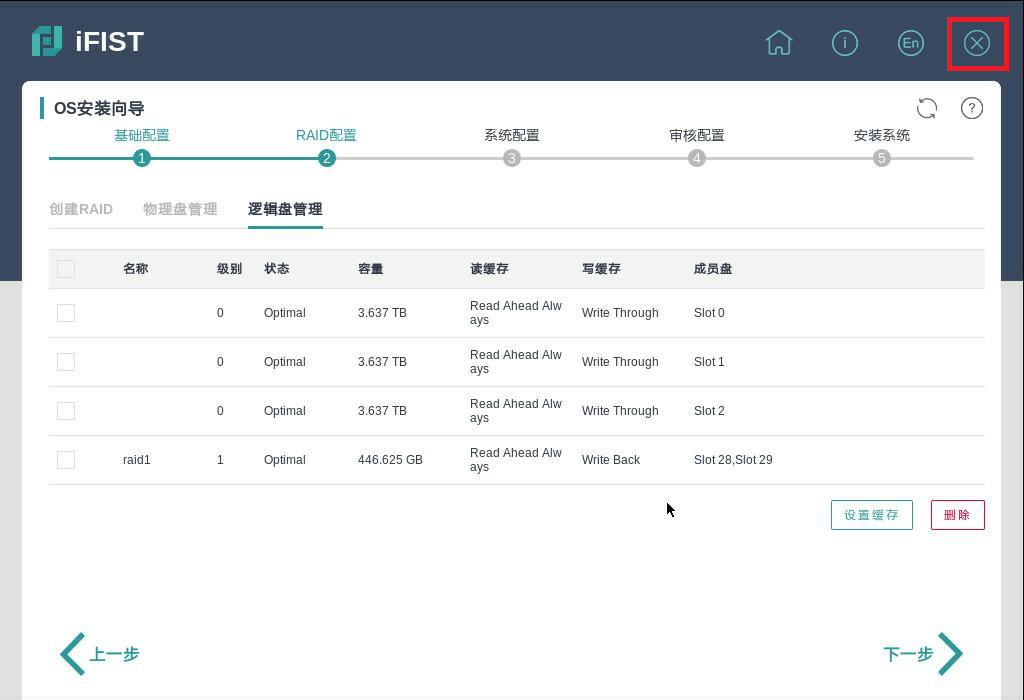
8. If RAID is successfully configured, here will come the page: [Logic Drive Management] demonstrating that the RAID level of the two drives are RAID1 while others are level 0.
Click on [X] at the top right corner to exit iFIST after RAID is successfully configured.
III Operating System Installation
1. Press F12 to choose boot entries;
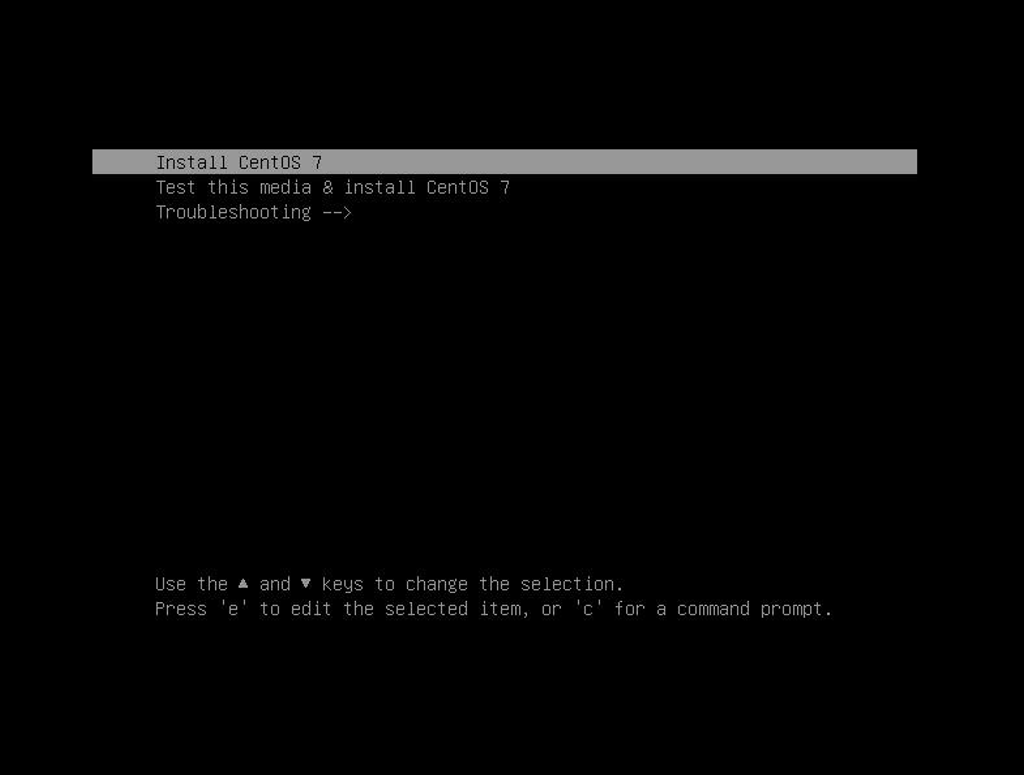
2. Select [Boot] and press [Enter] to boot the computer from the optical drive;
Note: This is the virtual drive boot.
.png)
3. Switch to [Save & Exit], pick [Save Changes and Exit], and press [Enter];
.png)
4. Enter the setup interface and install centOS;
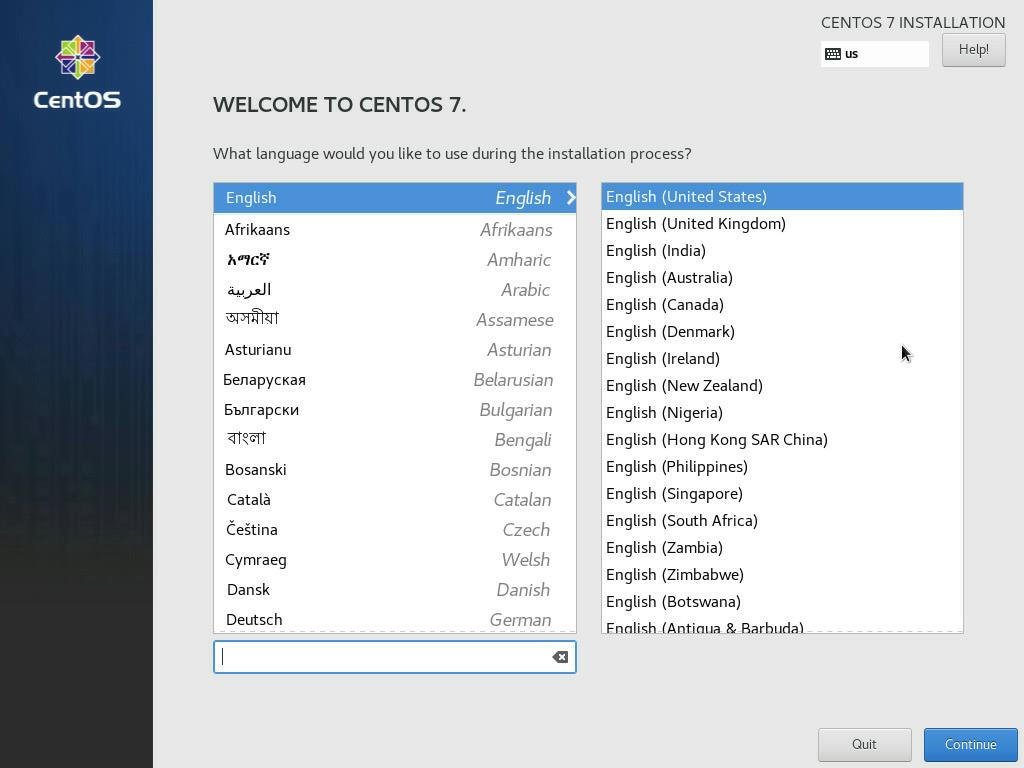
4.1 Enter the graphical setup interface, choose the default option [English], and click on [Continue];
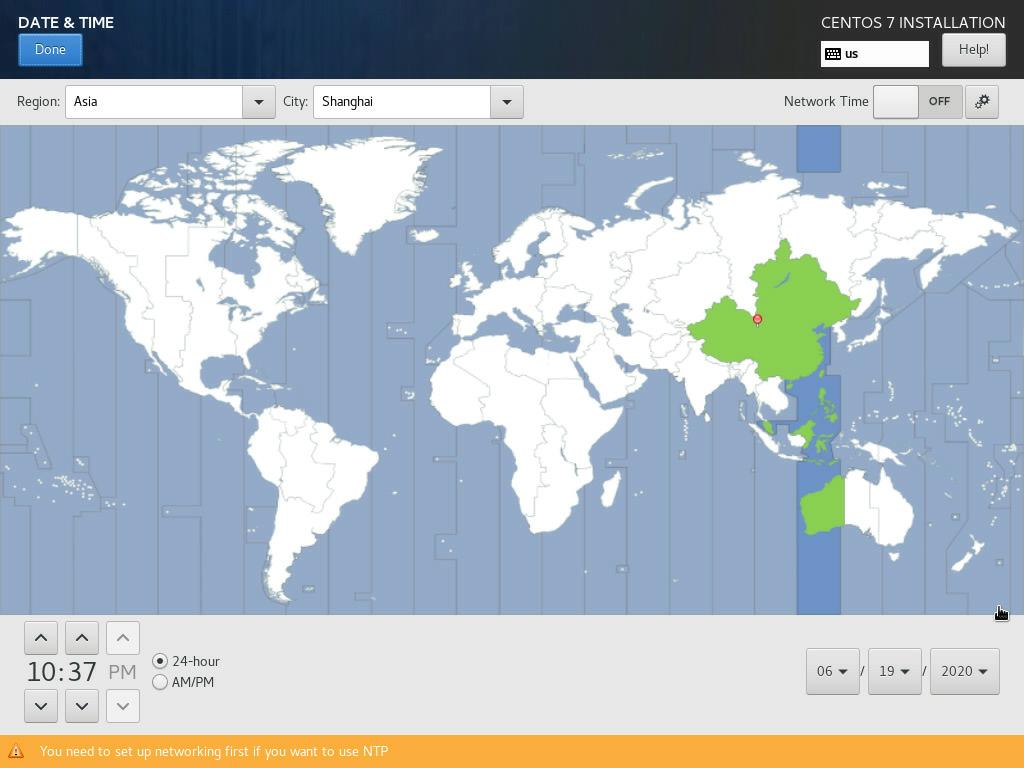
4.2 Set the timezone and time and click on [DATE & TIME];

4.3 Unfold City, pick shanghai, and click on [Done];
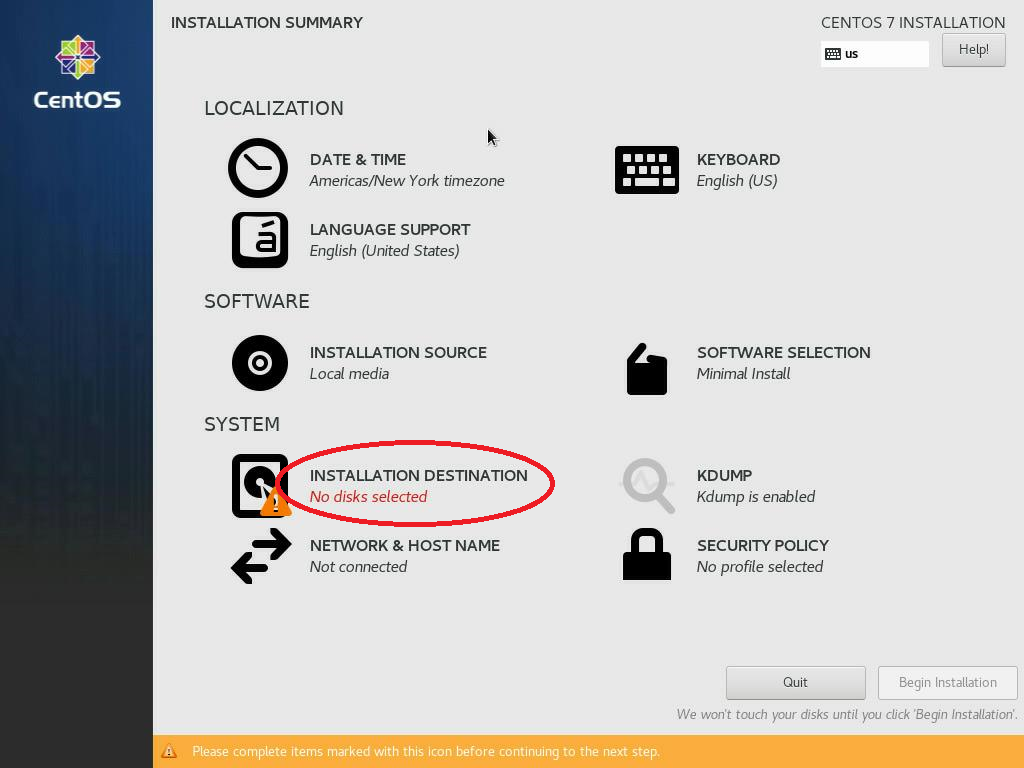
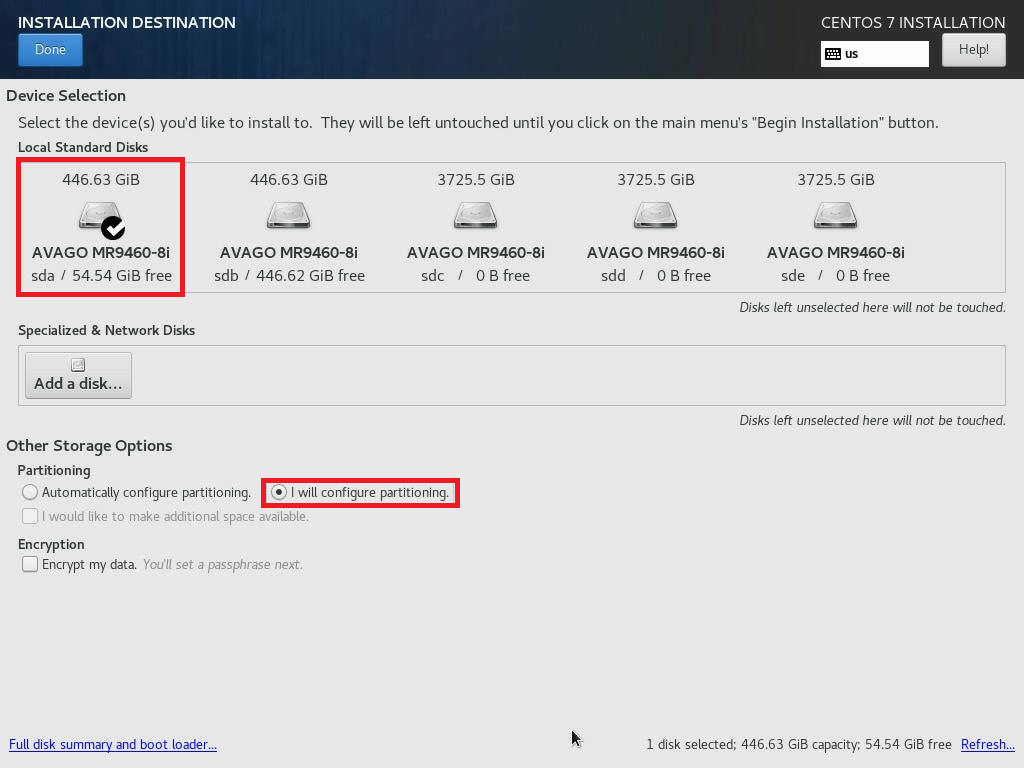
4.4 Click on [INSTALLATION DESTINATION], select the original system disk, pick [I will configure partitioning], and choose [Done];
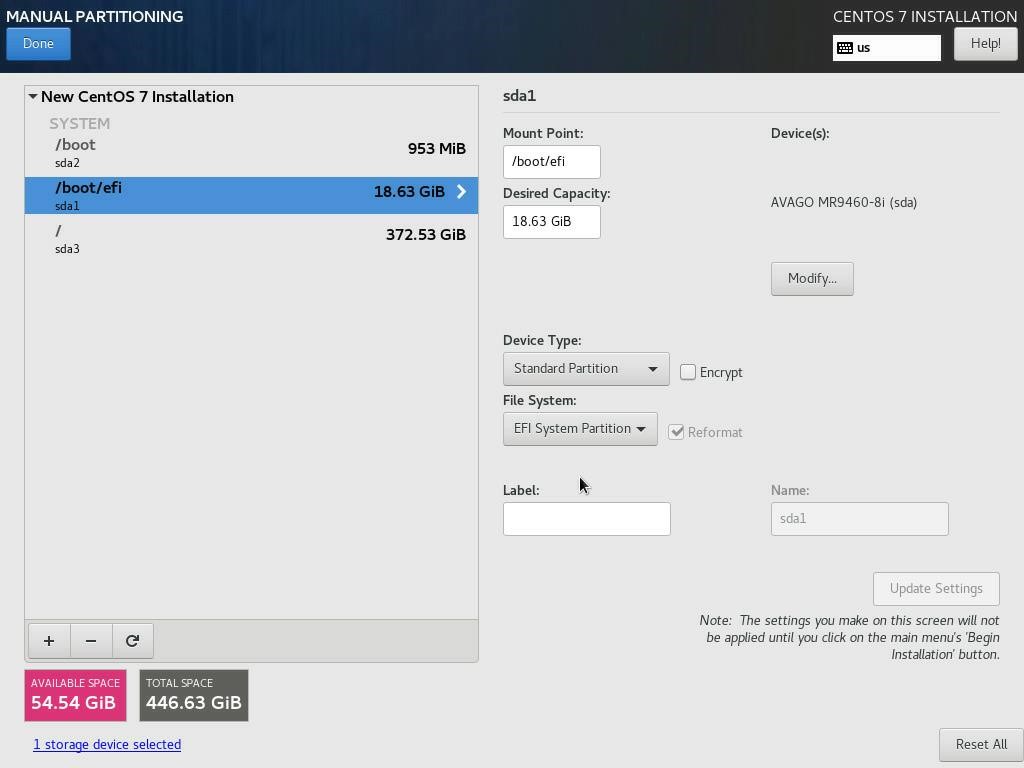
4.5 Create a new system partition;
4.5.1 Choose the partitioning scheme: [Standard Partition] and click on [+];
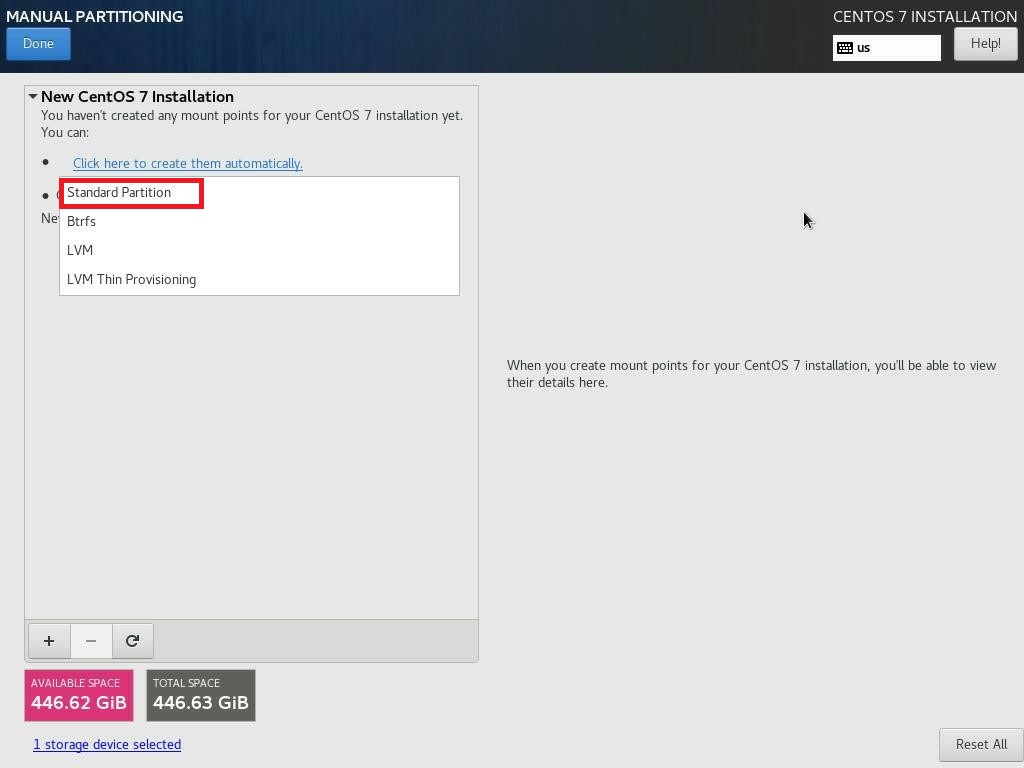

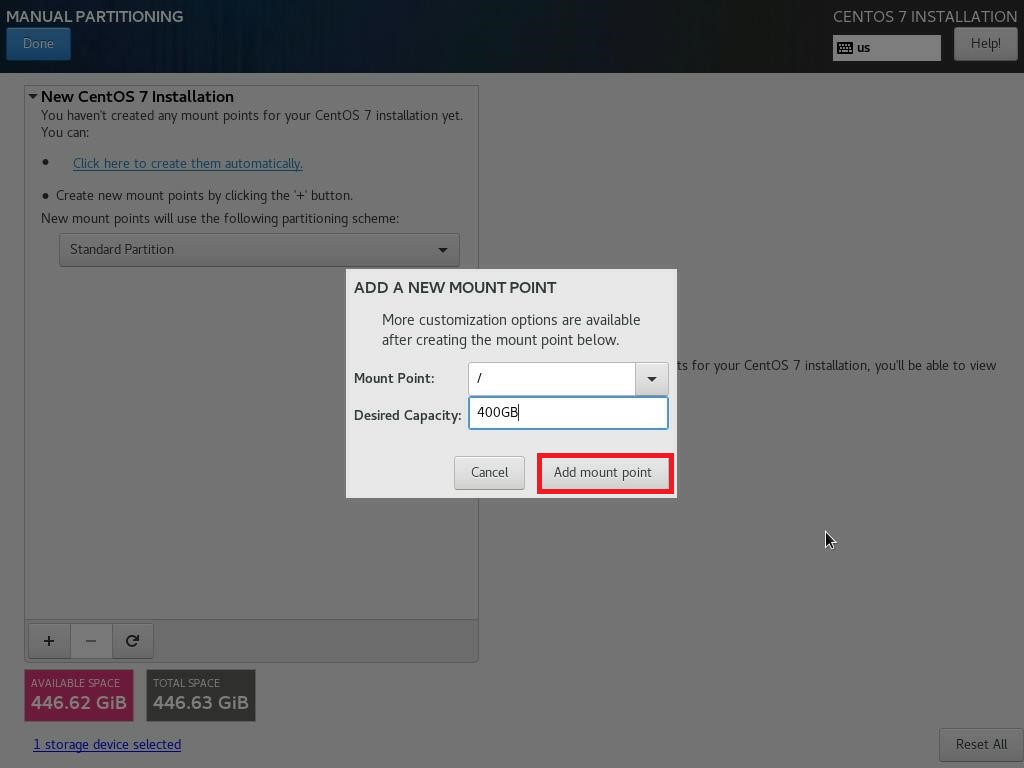
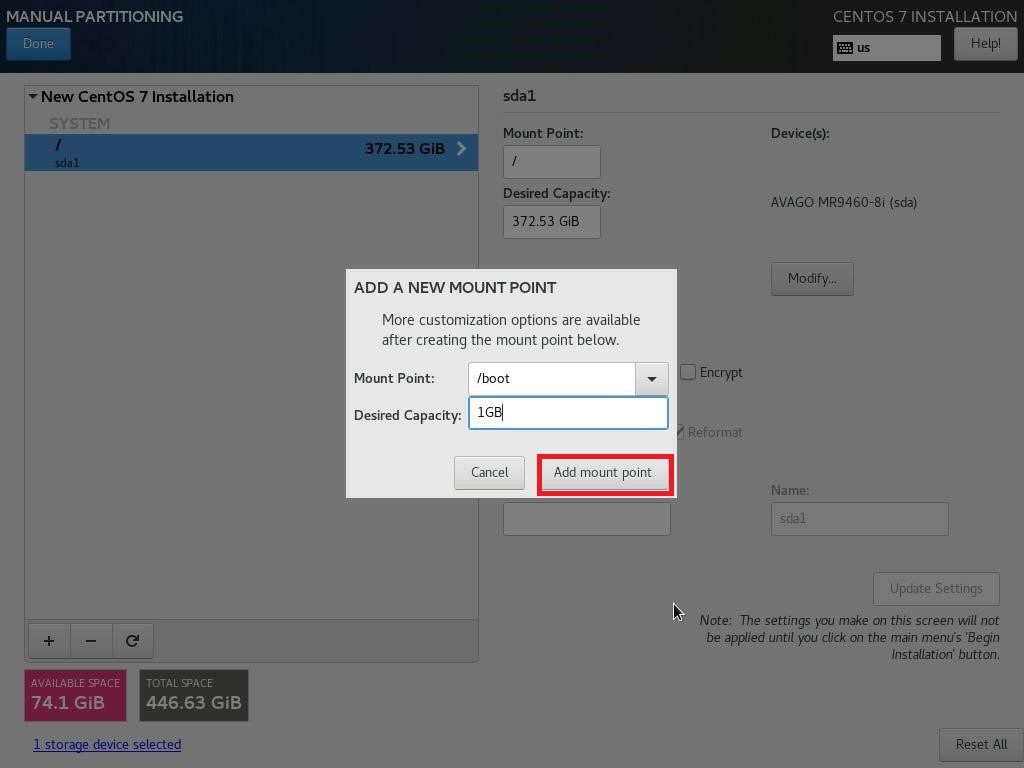
4.5.2 Create three partitions: /, /boot, /boot/efi;
Note: If there is no partition: /sysvol, partition: / should be as huge as possible. What it means is to try to allocate the same space as that of the system disk.
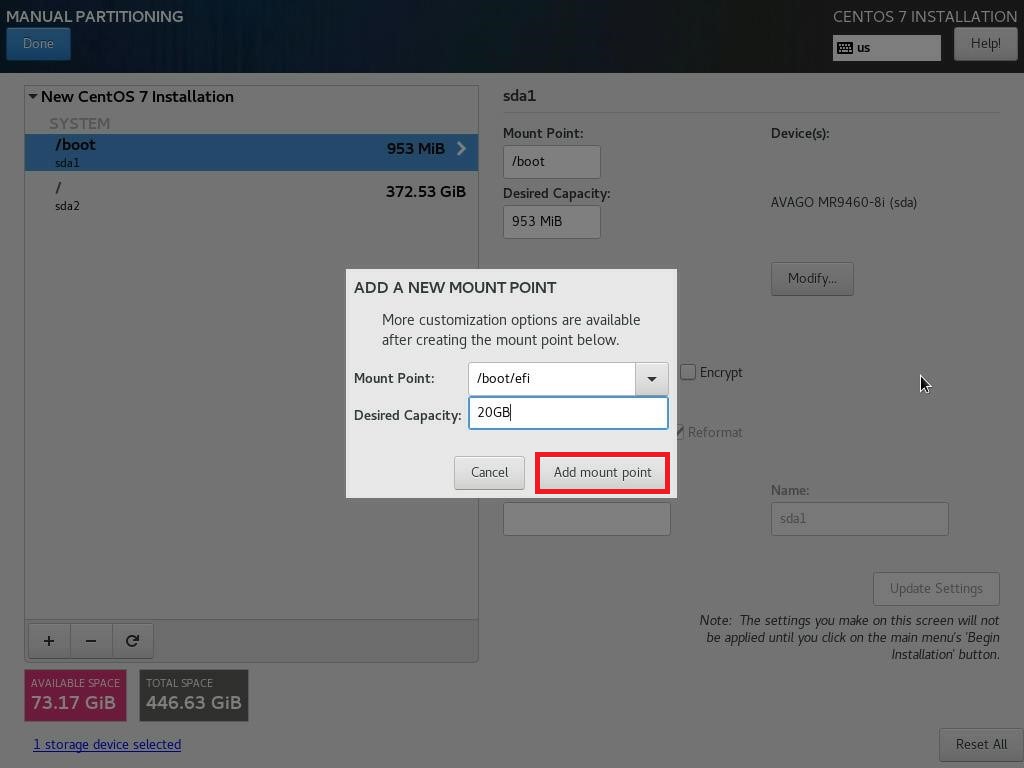
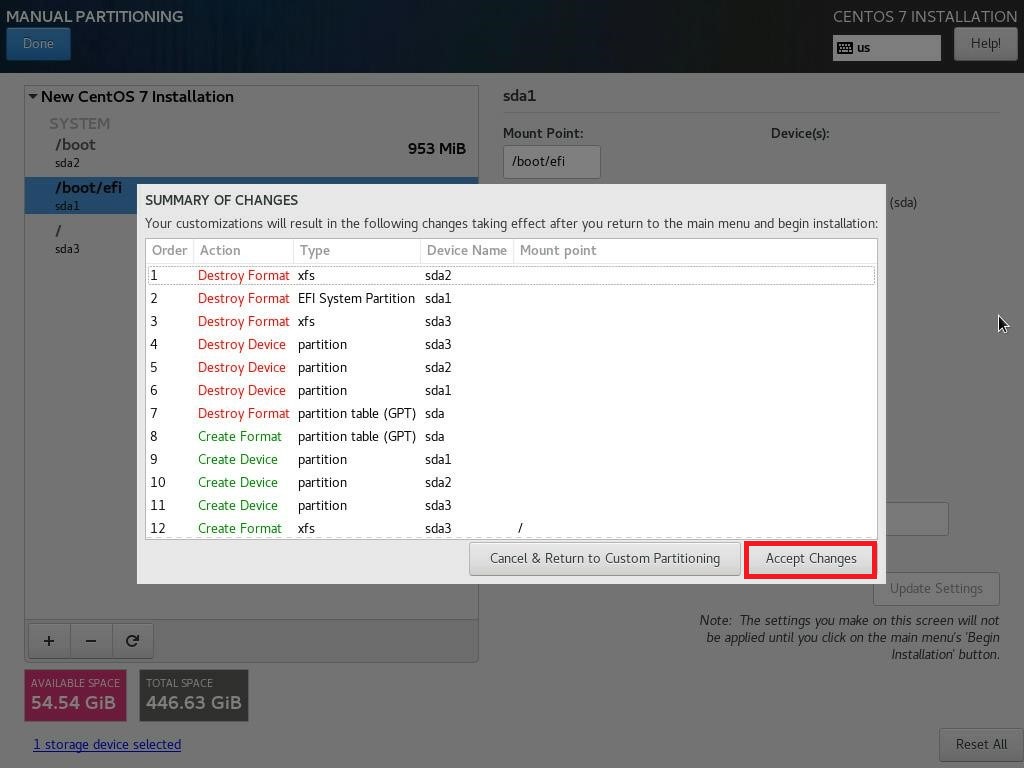
4.5.3 The image below sets an example of what it looks like after creation. Double click on [Done] and select [Accept Changes];
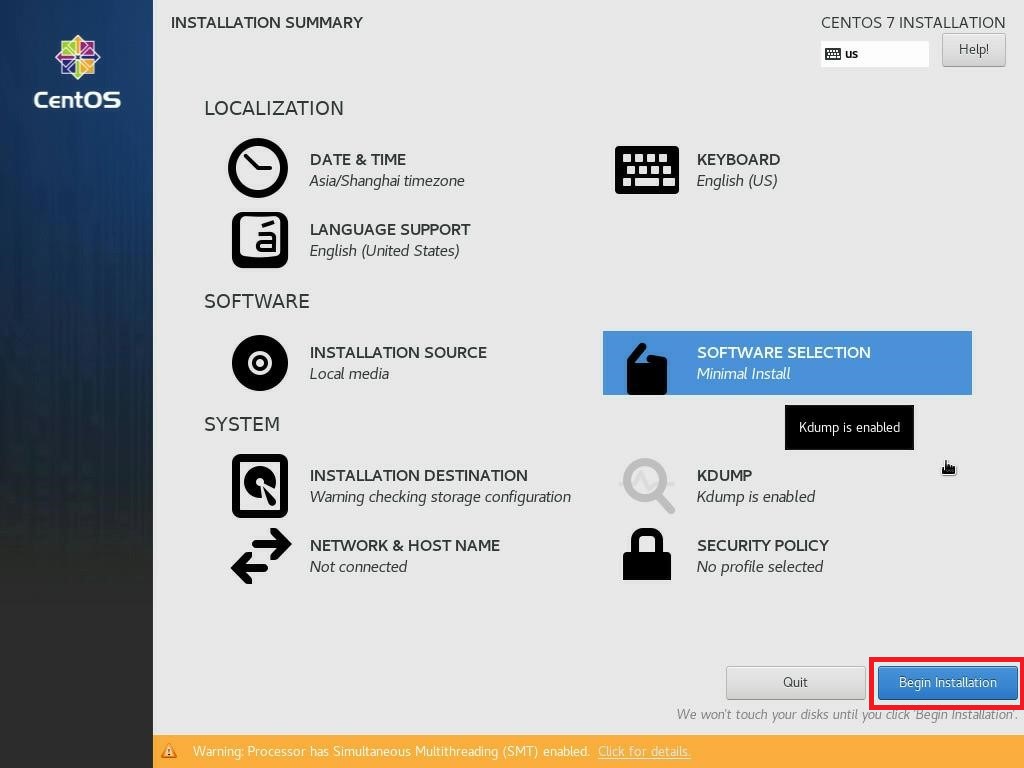
5. Click on [Begin Installation];
6. Choose [ROOT PASSWORD] to change the root password.
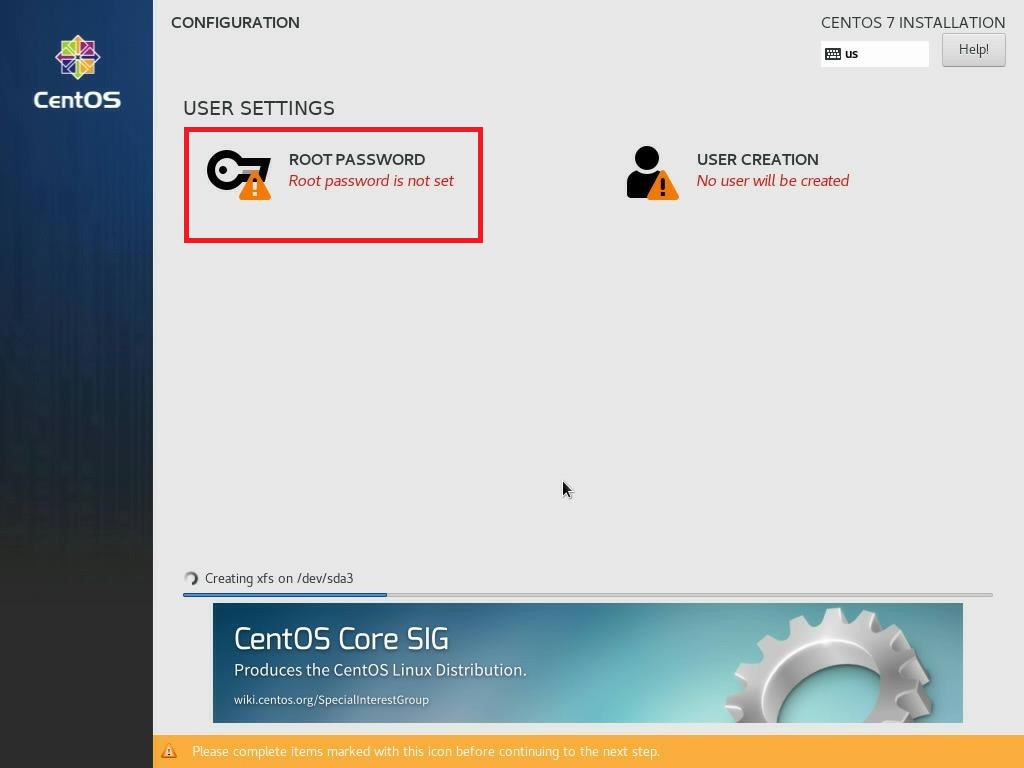
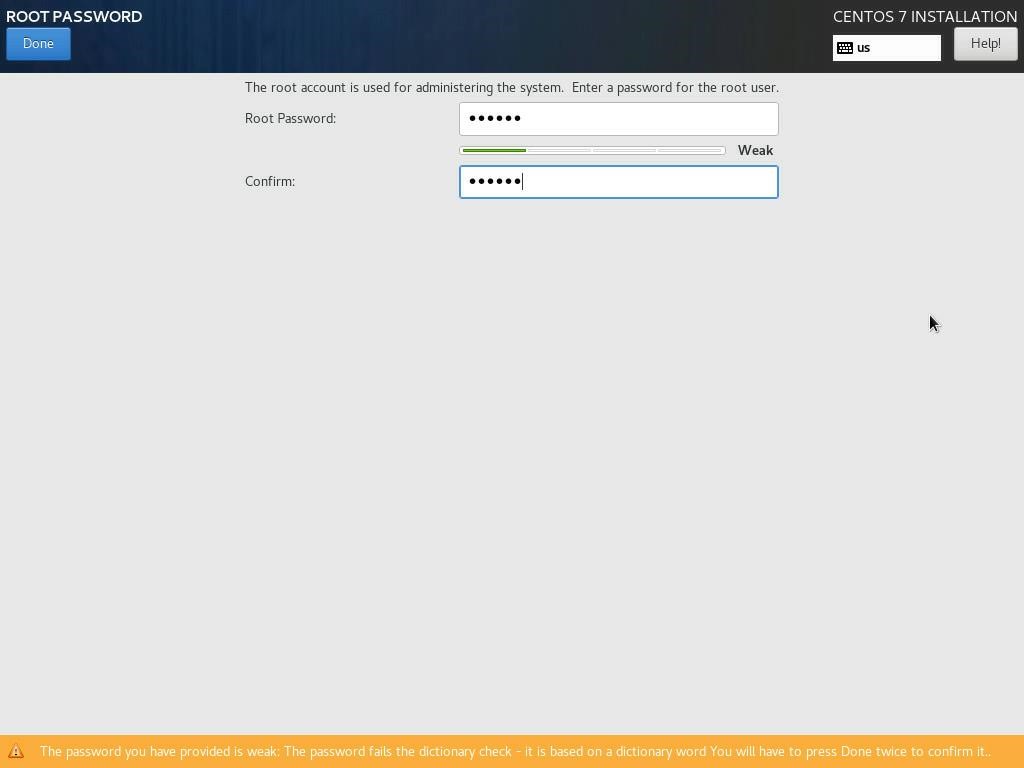
Note: After reboot, the screen will stay at centOS boot item interface for about 2min.
Ⅳ Network Configuration
Note: It will be convenient for the following operations after this step of connection to the AnyShare Server via SSH.
Input the password you set during system installation and enter the system.
1. IP Configuration;
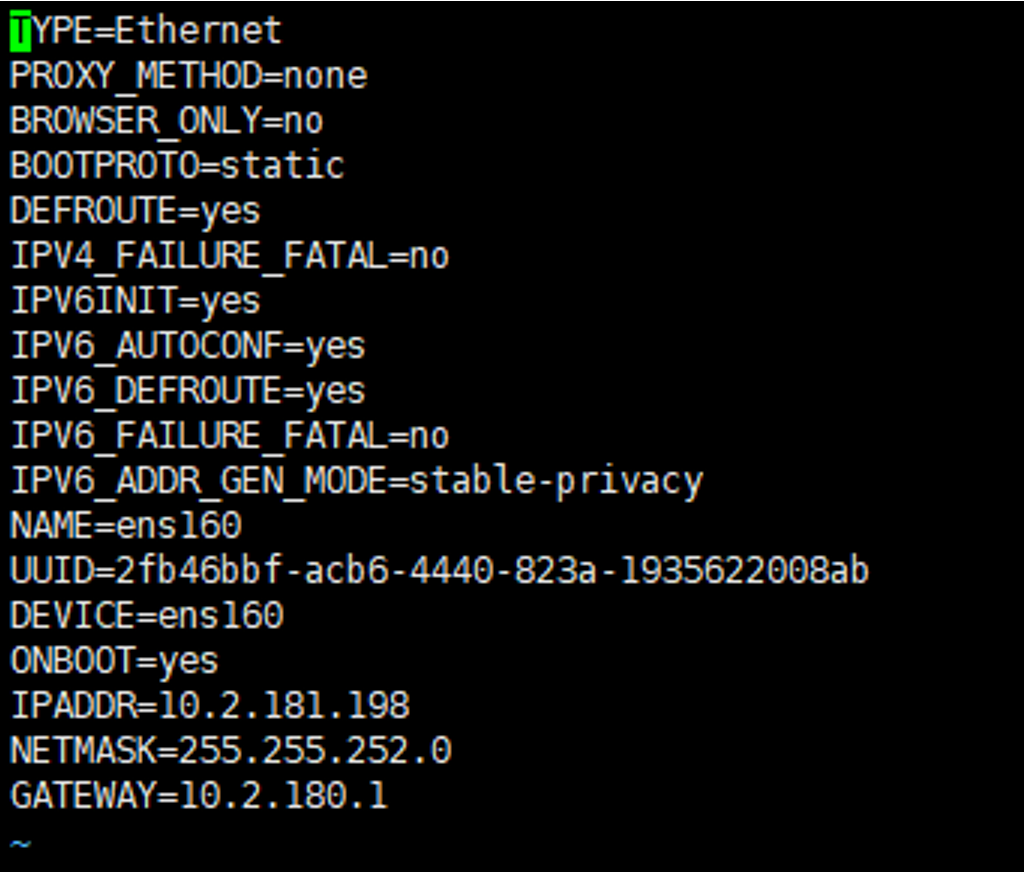
1.1 Execute command: vi /etc/sysconfig/network-scripts/ifcfg-ens160 on one Ethernet card.
1.2 Input i to enter edit mode and modify two parameters like this: BOOTPROTO = static;ONBOOT = yes;configure IPADDR, NETMASK, and GATEWAY;
1.3 Press Esc and shift+: after modifying. Input wq to save and exit;
2. DNS Configuration;
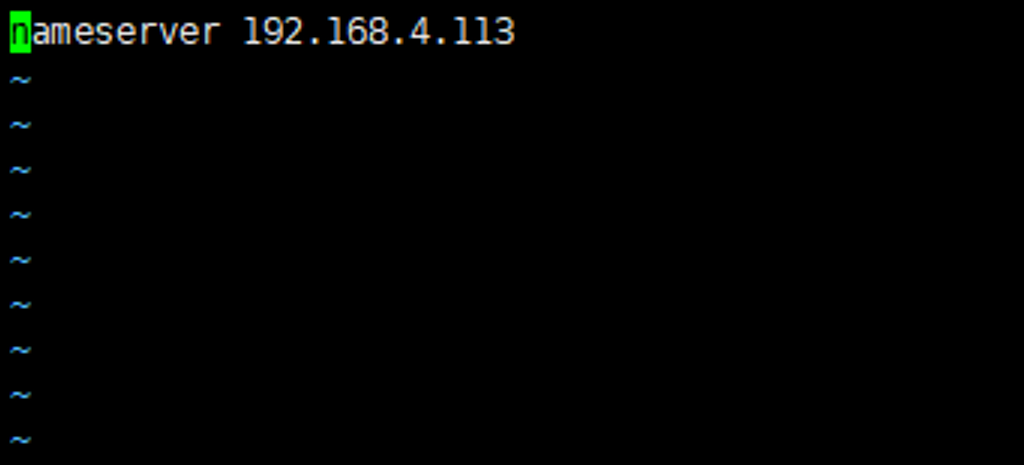
1.1 Execute command: vi /etc/resolv.conf;
1.2 Input i to enter edit mode and modify the parameter like this: nameserver 192.168.4.113;
1.3 Press Esc and shift+: after configuration. Input wq to save and exit;
3. After configuration, restart the network: systemctl restart network.
Note: This IP configuration is for network communication, dependent libraries, and AnyShare package.
Ⅴ Package Upload
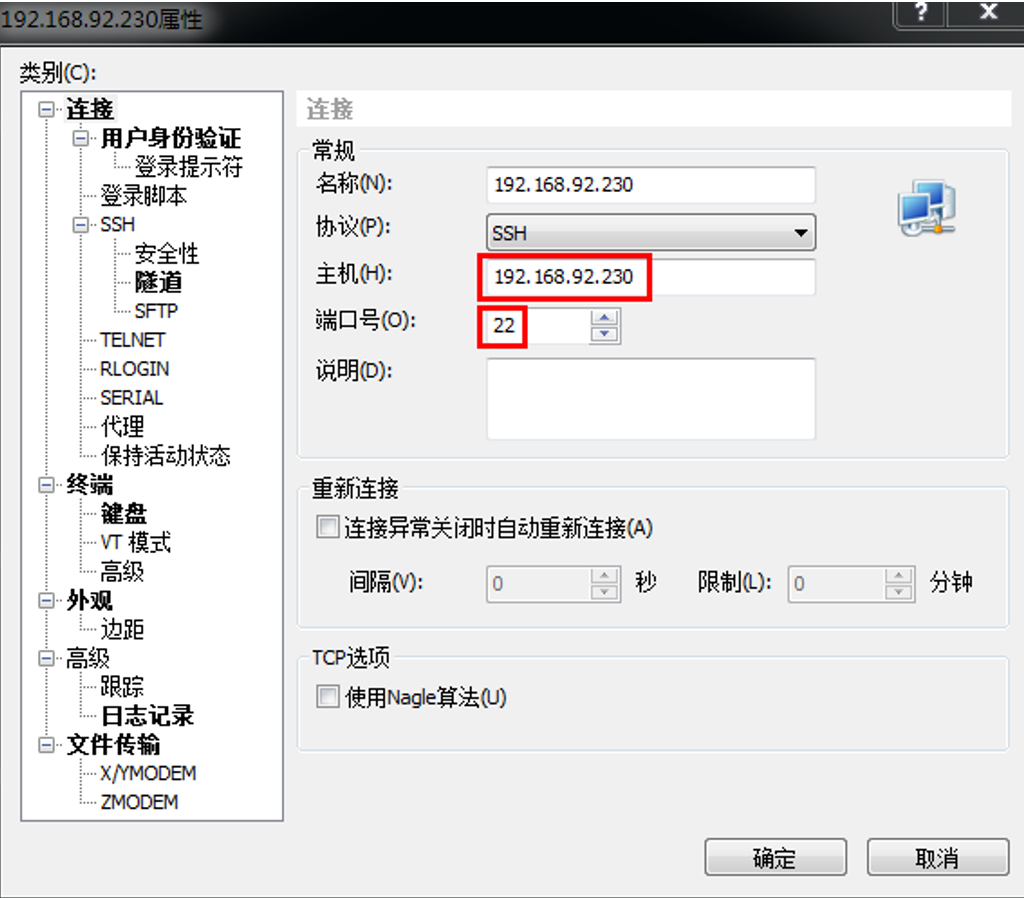
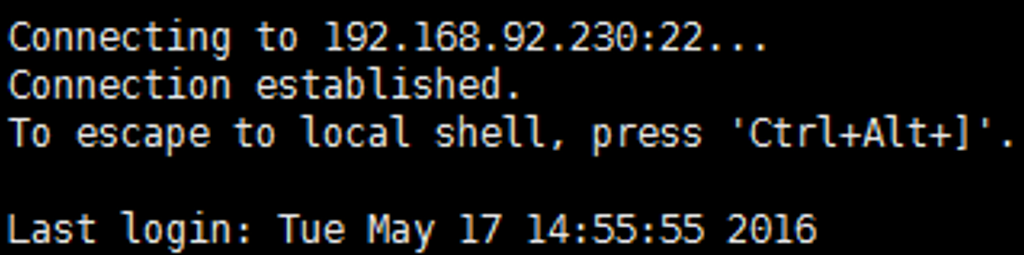
1. Connect to CentOS via IP address provided by SSH. The default name: root; the default port: 22;
2. Create the package directory: mkdir package;
3. Use TFTP to upload the packages of dependent and AnyShare downloaded before to the package directory created just now.
Note: (1) Below are the example names of the packages. Only for reference.
Dependent package: AnyShareDeps-el7.x86_64-20200606-103351-x86_64-35.tar.gz
Instal package: AnyShare-Server-7.0.0-20200706-el7.x86_64-599.tar.gz
(2) Files in directory / should neither be extracted nor uploaded from packages.
< Previous:
Next: >