AnyShare AutoSheets delivers enterprise-grade data management with secure, scalable processing. Its intuitive interface streamlines collaboration, enabling organizations to maximize data value.
This guide introduces data editing, sharing, and viewing through common workplace scenarios.
Version History Management
When a sheet undergoes multiple revisions, you can review or restore previous versions effortlessly.
Each manual save by the file owner generates a version; a single file may have multiple historical versions. The history tracks all saved versions, allowing restoration to any point.
› Create Version
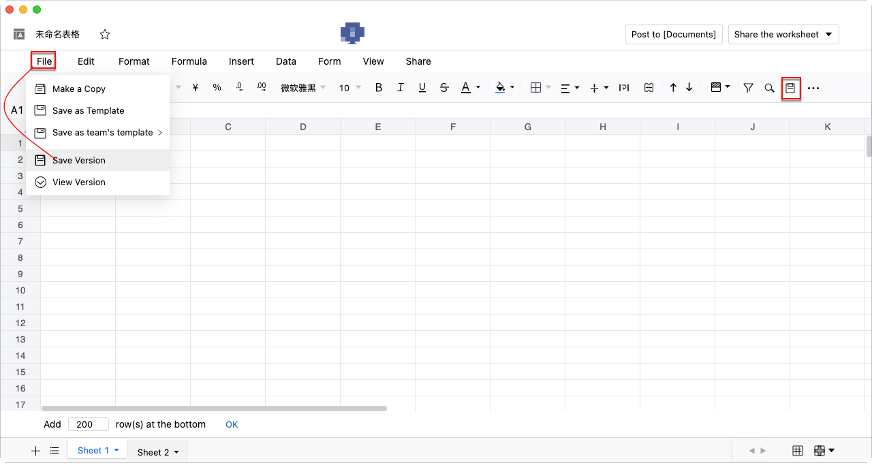
While editing, navigate to [File] > [Save Version] or click the toolbar’s "Save Version" to capture the current state.
Figure-Save a sheet version
› View Historical Version
Select [File] > [Save Version] to display version details (timestamped name, creator, date) in a right-side panel.
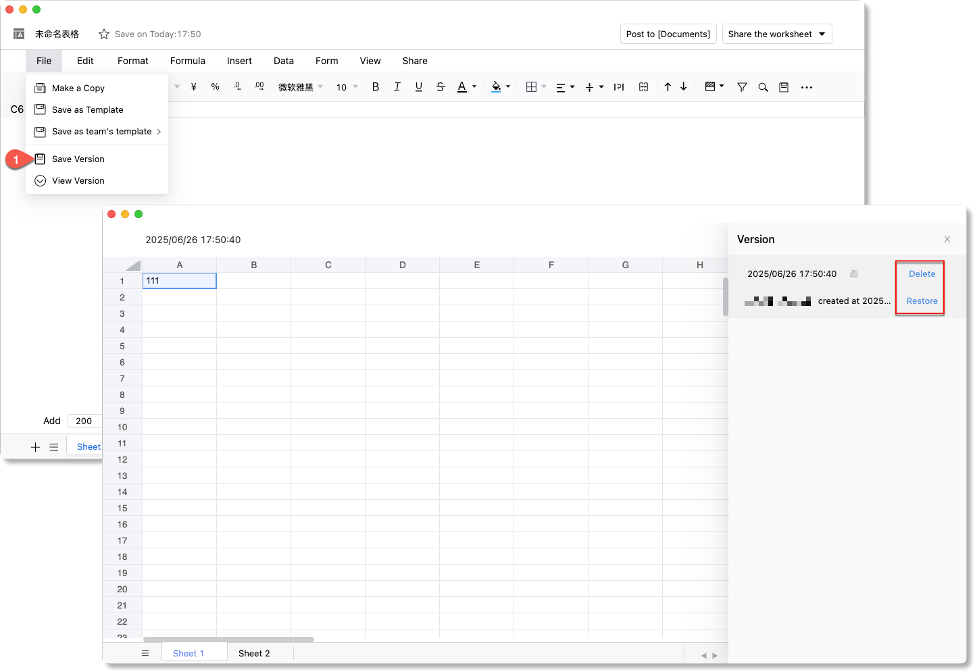
Click any version to inspect it in read-only mode.
› Delete & Restore Version
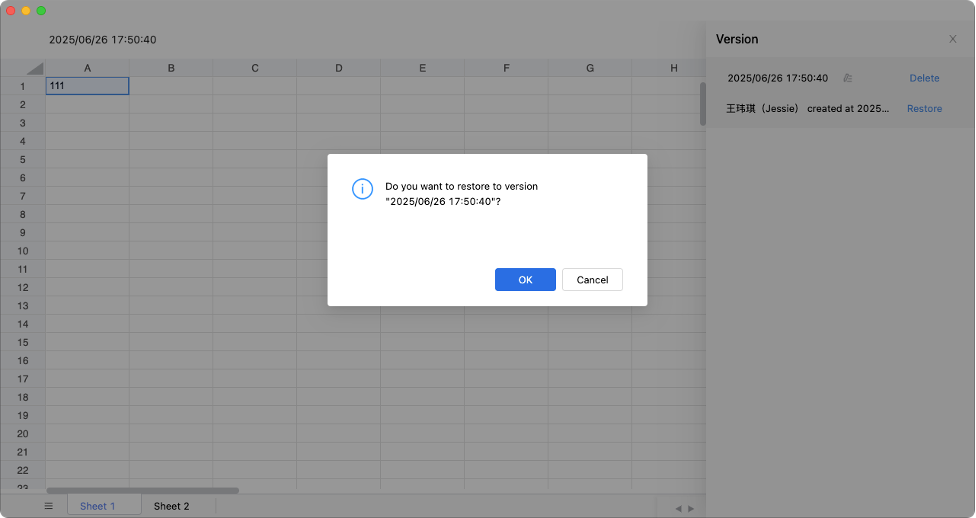
Restore: Select a version, click [Restore] > [Confirm] to overwrites the current file and invalidates existing share links.
Figure-Restore a version
Delete: Select a version, click [Delete] > [Confirm] (irreversible).
Figure-Delete a version

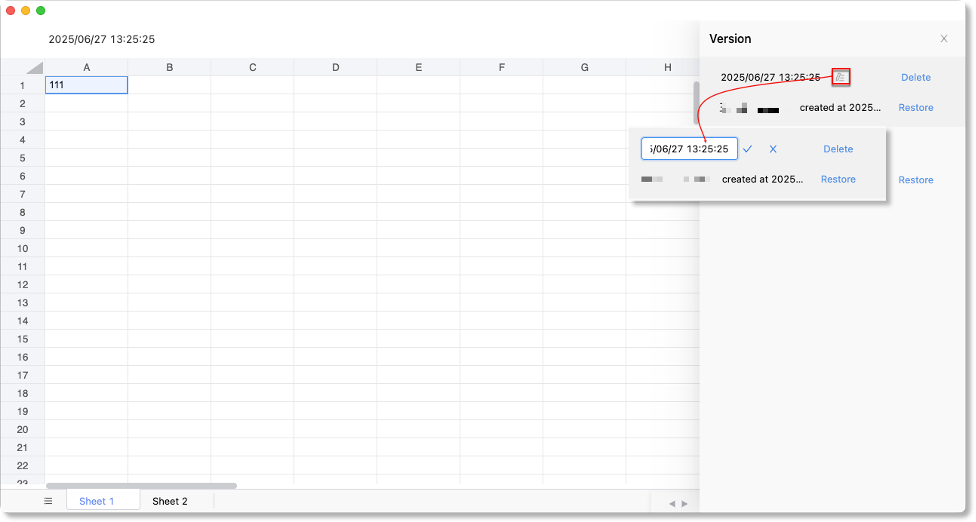
› Rename Versions
Click “![]() ” button next to version name, enter a new name and click “
” button next to version name, enter a new name and click “![]() ”. Duplicate names are allowed.
”. Duplicate names are allowed.
Figure-Rename the version
Limitations:
1) Version control is exclusive to file owners.
2) Restoration fails if filenames exceed 255 characters or conflict with existing names.
Share Worksheet
› Partial Data Sharing
To collaborate on the same sheets while preventing data leaks.
Use the [Share] feature in the menu bar to restrict access to specific sheets or selected range, ensuring controlled data visibility.
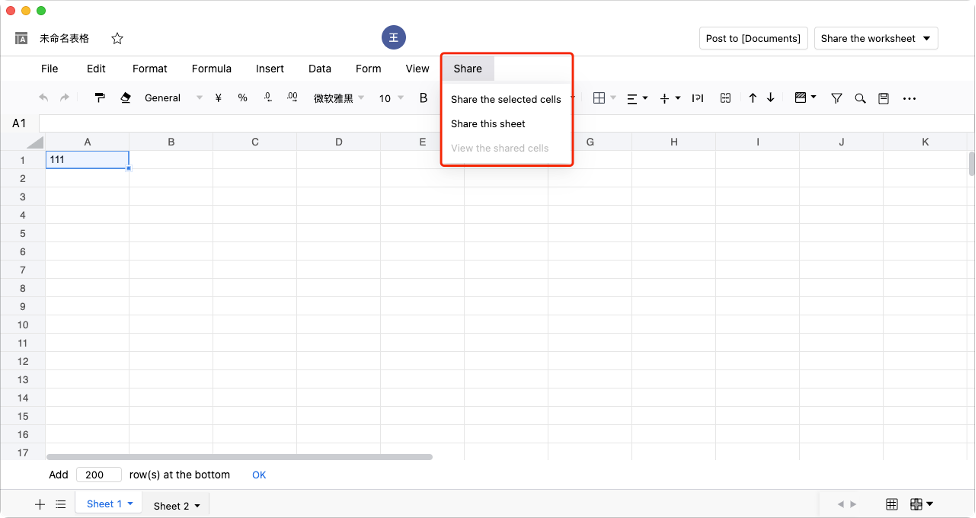
› Share Selected Cells
To configure exclusive permissions for specific collaborators or revoke access from others for a particular range within a sheet:
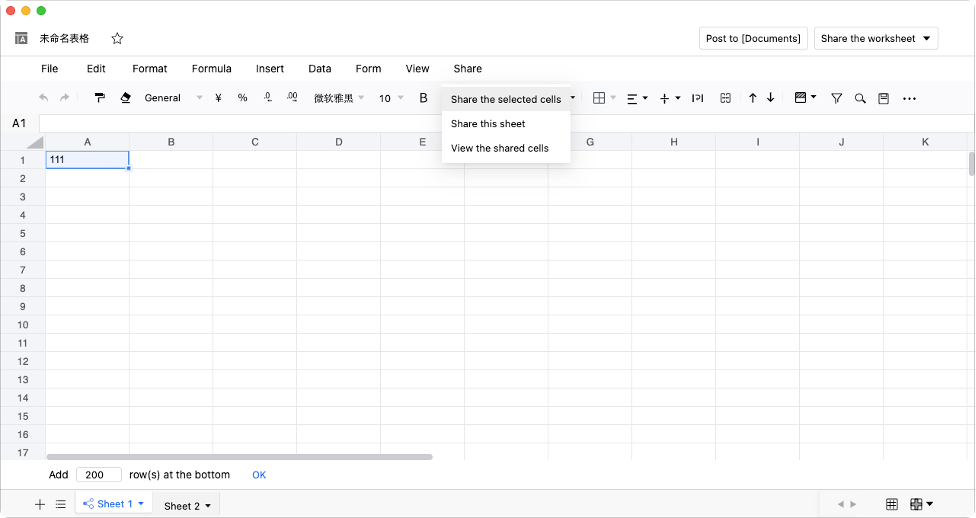
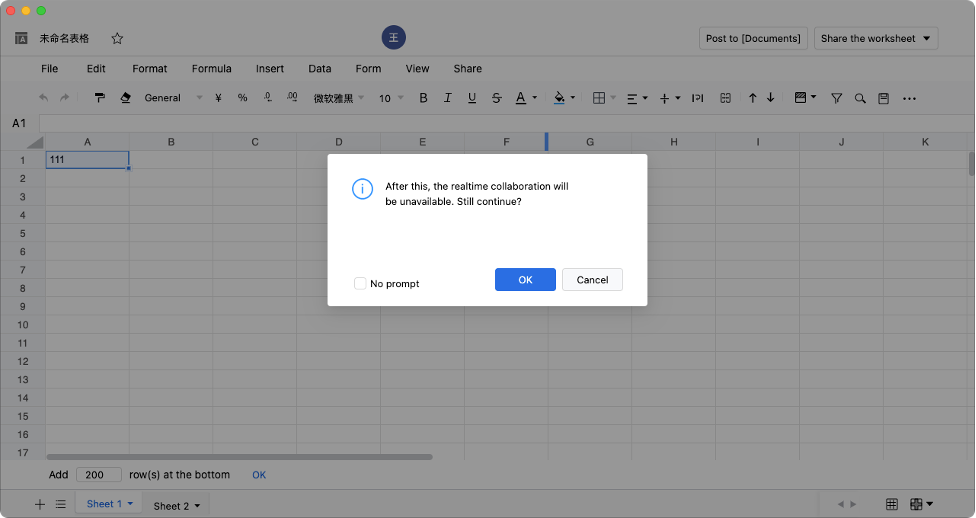
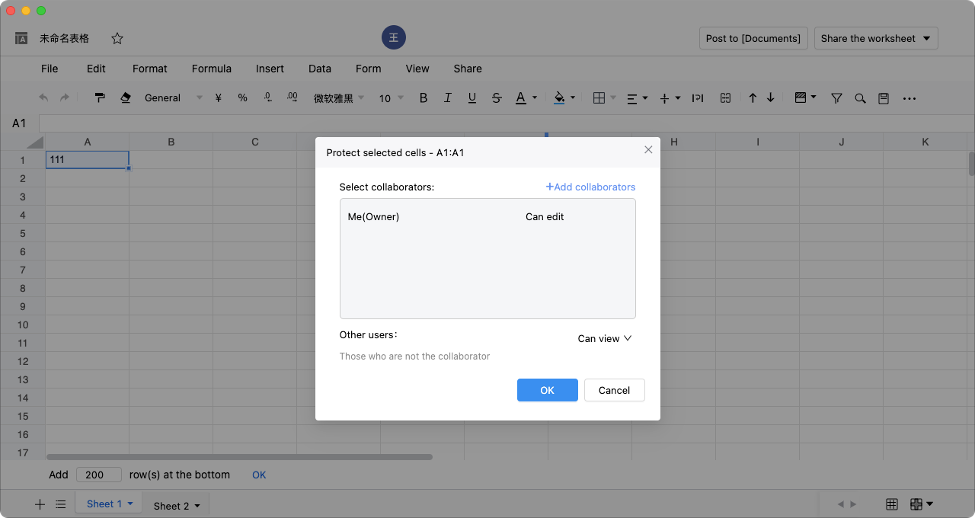
Step1. Set Range Permissions
Navigate to [Share] > [Share the selected cells]. A confirmation dialog will appear noting that real-time collaboration will be disabled after configuration. Click [OK] to proceed.
Step2. Add Collaborators
Click [+Add Collaborators] in the permissions panel. Select users, groups, or contacts from the organizational structure then click [OK] to confirm.
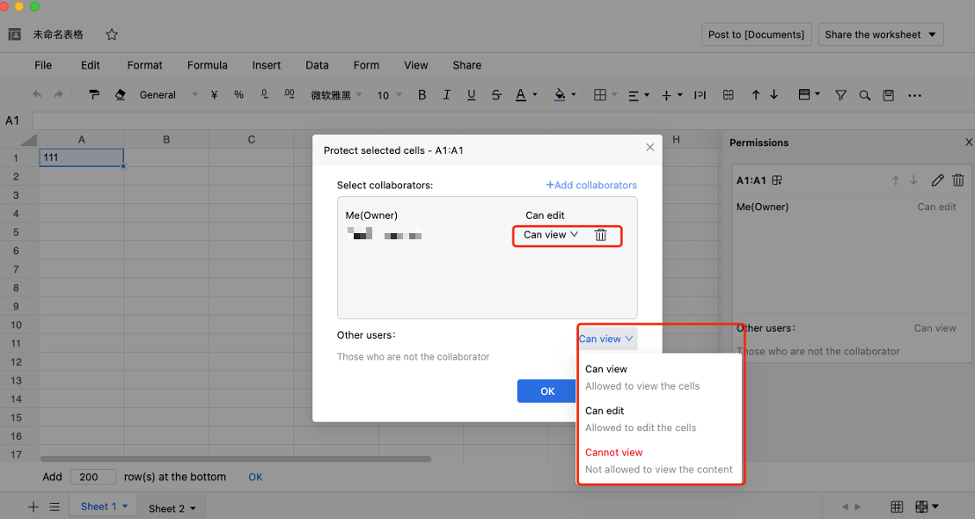
Step3. Assign permissions for collaborator/other users
You can assign permissions for collaborators and other users, including the following:
-
- View: Allowed to view the selected range.
- Edit: Allowed to edit the selected range (add/remove rows/columns, adjust cell properties).
- Cannot view: Not allowed to view the selected range.
Note: The system supports setting access permissions for collaborators/other users, and provides granular control over editing permissions (such as adding/hiding/deleting rows/columns or modifying cell height/width) when protecting worksheets.
› Share single sheet from a multi-sheet worksheet
Click [Share] > [Share this sheet] to open the sharing configuration interface. The file owner can choose to share the worksheet with specific users or make it available to any user.
Note: The sharing workflow here is identical to the standard sharing process (see How to share files in AnyShare?).
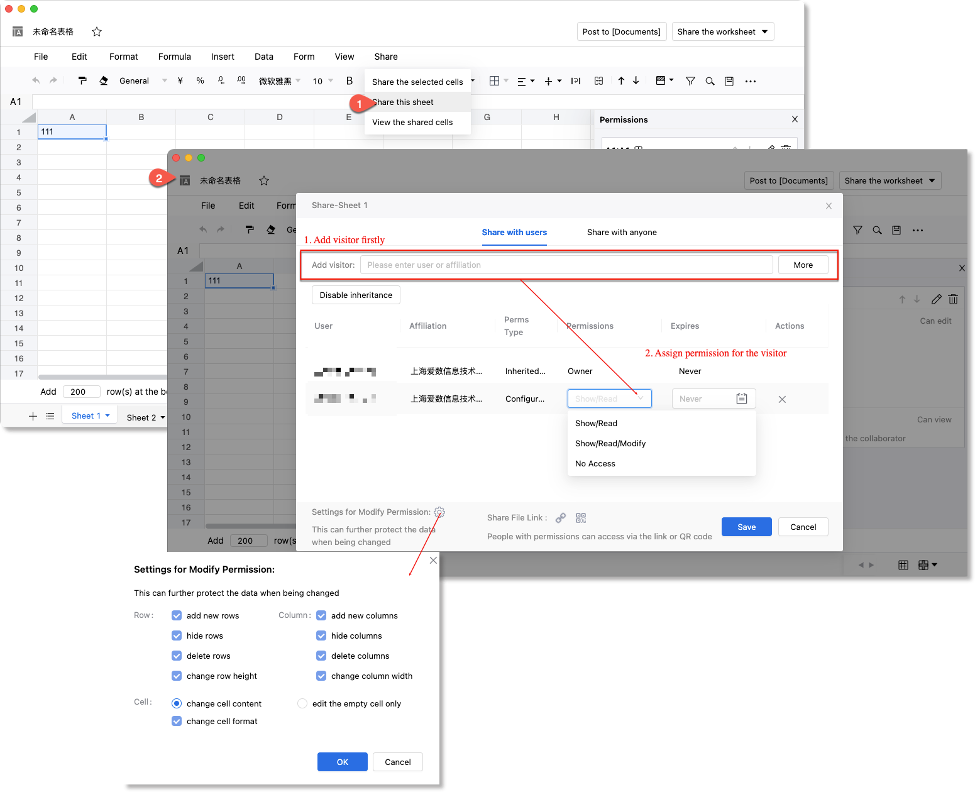
Key differences include:
1. Current permission configurations are limited to: Show, Read, Modify, and No Access.
2. When sharing with specified users, permission settings can be modified to enable more granular access control (click “ ” to configure)- allowing restrictions on specific operations for worksheet rows or cells, as illustrated above.
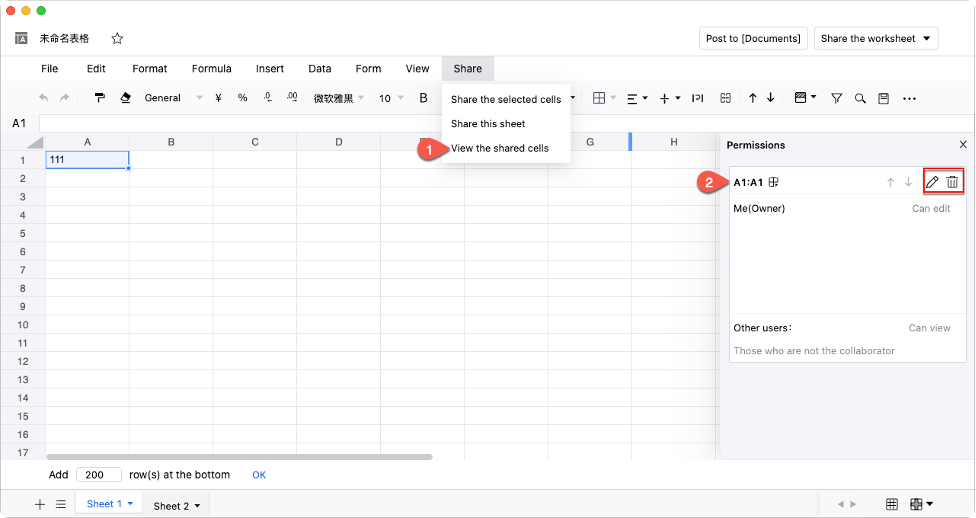
› View the shared cells after sharing
After clicking [Share] > [View the shared cells], the worksheet's right panel will display configuration details for both shared sheets and selected shared ranges.
Use Formulas
AnyShare Autosheets supports a comprehensive range of formulas, enabling users to perform calculations and solve problems efficiently.
Most used formulas in daily work include:
-
- SUM (Summation)
- AVERAGE (Average)
- MAX/MIN (Finding maximum/minimum values)
- COUNT (Count)
- …
The following sections detail the usage methods for these essential formulas:
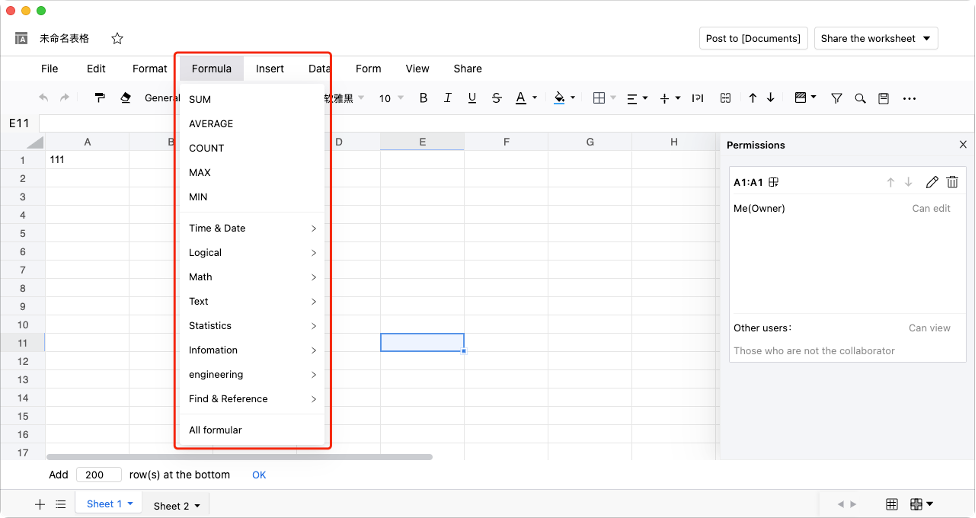
How to use the SUM formula?
To sum a column or row of numbers:
1) Select the cell adjacent to your target numbers
2) Navigate to the [Formula] tab and select [SUM]
3) Highlight the range of values to sum - the selected range will automatically populate in the formula
4) Complete the formula with a closing parenthesis (half-angle) and press [Enter] to execute
How to use the AVERAGE formula?
To calculate the average a column or row of numerical values:
1) Select the cell where you want the average displayed (typically below or beside your data range)
2) Access the [Formula] tab and choose [AVERAGE]
3) Select the target cells containing values - the range will auto-populate in your formula
4) Close the parentheses (half-angle) and press [Enter] to complete
How to use the COUNT formula?
To count numerical values in a range:
1)Select target cell for the count result
2)Choose [COUNT] from the [Formula] tab
3)Highlight the data range to count (auto-populates in formula)
4)Close parentheses (half-angle) and press [Enter]
How to use the MAX formula?
To identify the highest value:
1) Select the cell where you want the maximum value displayed
2) Navigate to the [Formulas] tab and select [MAX]
3) Highlight the range of numerical values - the range reference will automatically appear in your formula
4) Complete the formula with a closing parenthesis (half-angle) and press [Enter] to execute
How to use the MIN formula?
To find the lowest value:
1) Select the target cell for displaying the minimum value
2) Navigate to the [Formulas] tab and select [MIN]
3) Highlight the numerical range to evaluate (auto-populates in formula)
4) Complete the formula with a closing parenthesis (half-angle) and press [Enter] to execute
Use Template to Create a Worksheet
AutoSheets template library provides ready-to-use templates to accelerate your work efficiency.
Template Sources
-
- Personal templates saved from your previous work
- Team templates shared by colleagues
- Saving Custom Templates
Open a sheet to use as a template, and click [File] > [Save as template] or [Save as team’s template].
To use a template
Once templates are created, they become available in the Template under:
-
- My Templates (Your saved templates)
- Team Templates (Organized by department or custom spaces)
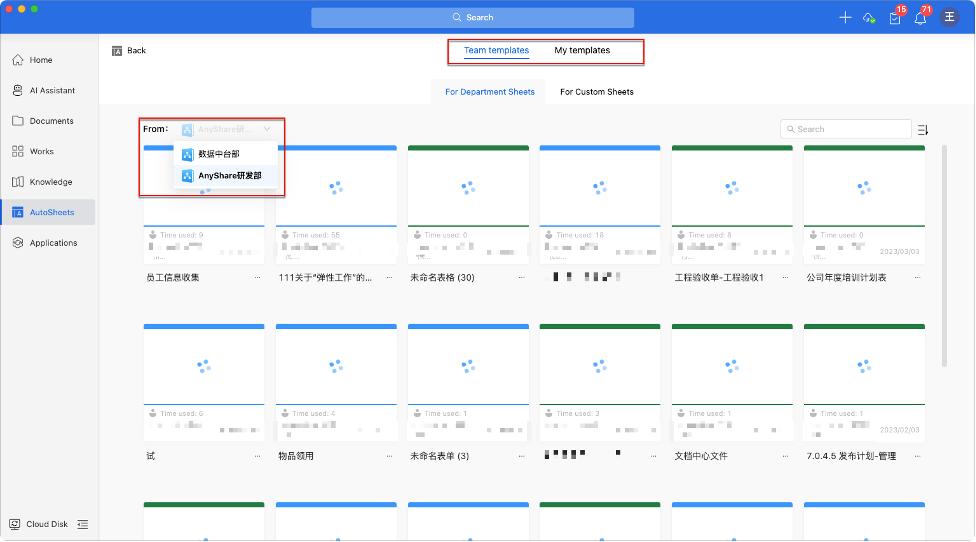
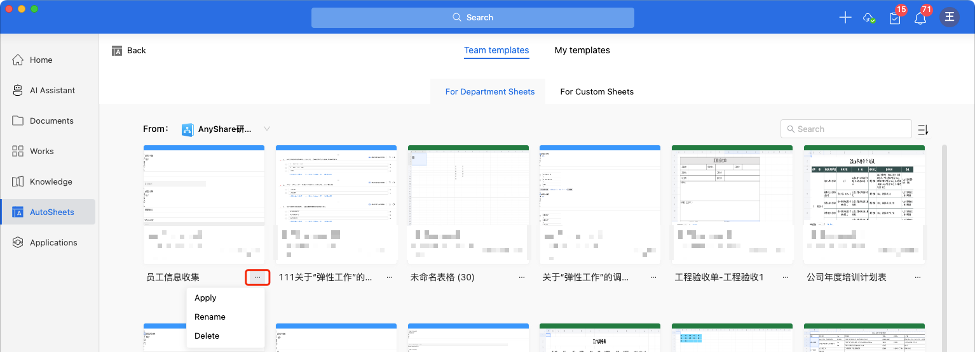
Hover over a template to reveal [Apply] button, click to instantly create a new sheet with the template's structure.
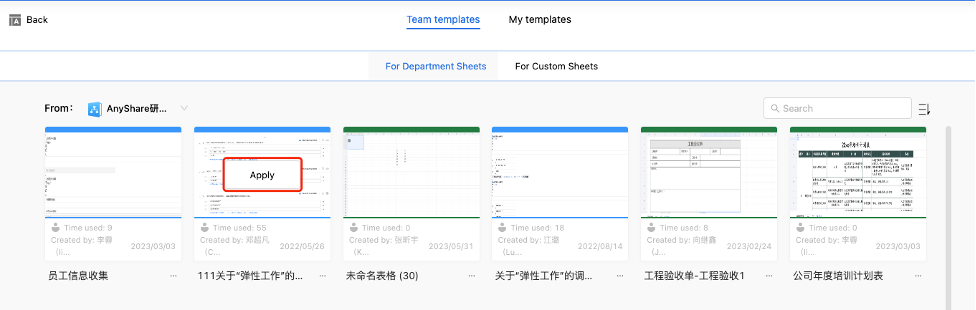
Alternatively, click the “![]() ” menu below a template to use, rename, or delete it.
” menu below a template to use, rename, or delete it.