


In AnyShare Family 7, the Windows client integrates cloud drive functionality to maintain bidirectional synchronization between local and cloud storage, enabling seamless cross-device file access while ensuring data consistency.
Preparation Before Use
› Local-Cloud Sync Setup
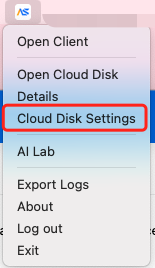
To enable local-cloud synchronization via the cloud drive, users must first configure the cache storage path through either the setup wizard or by right-clicking the AnyShare system tray icon, navigating to [Cloud Drive] > [Settings] > [Cache], clicking [Browse] to select the desired local storage path, and confirming with [OK] or [Apply].
Access Cloud Disk
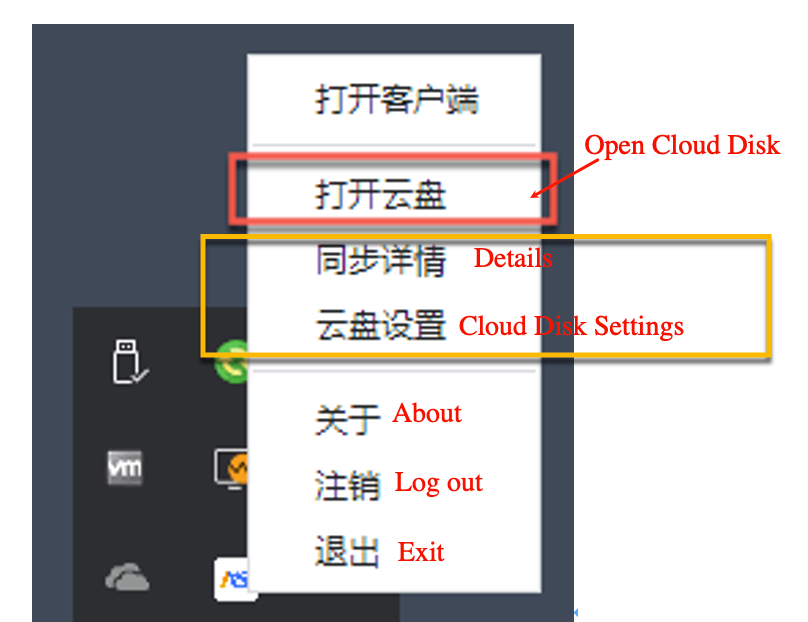
› Access Points:
Option 1: Click "Open Cloud Disk" in the system tray menu.

Option 2: After logging into the client, locate and click the Cloud Disk entry in the lower-left corner to activate it.
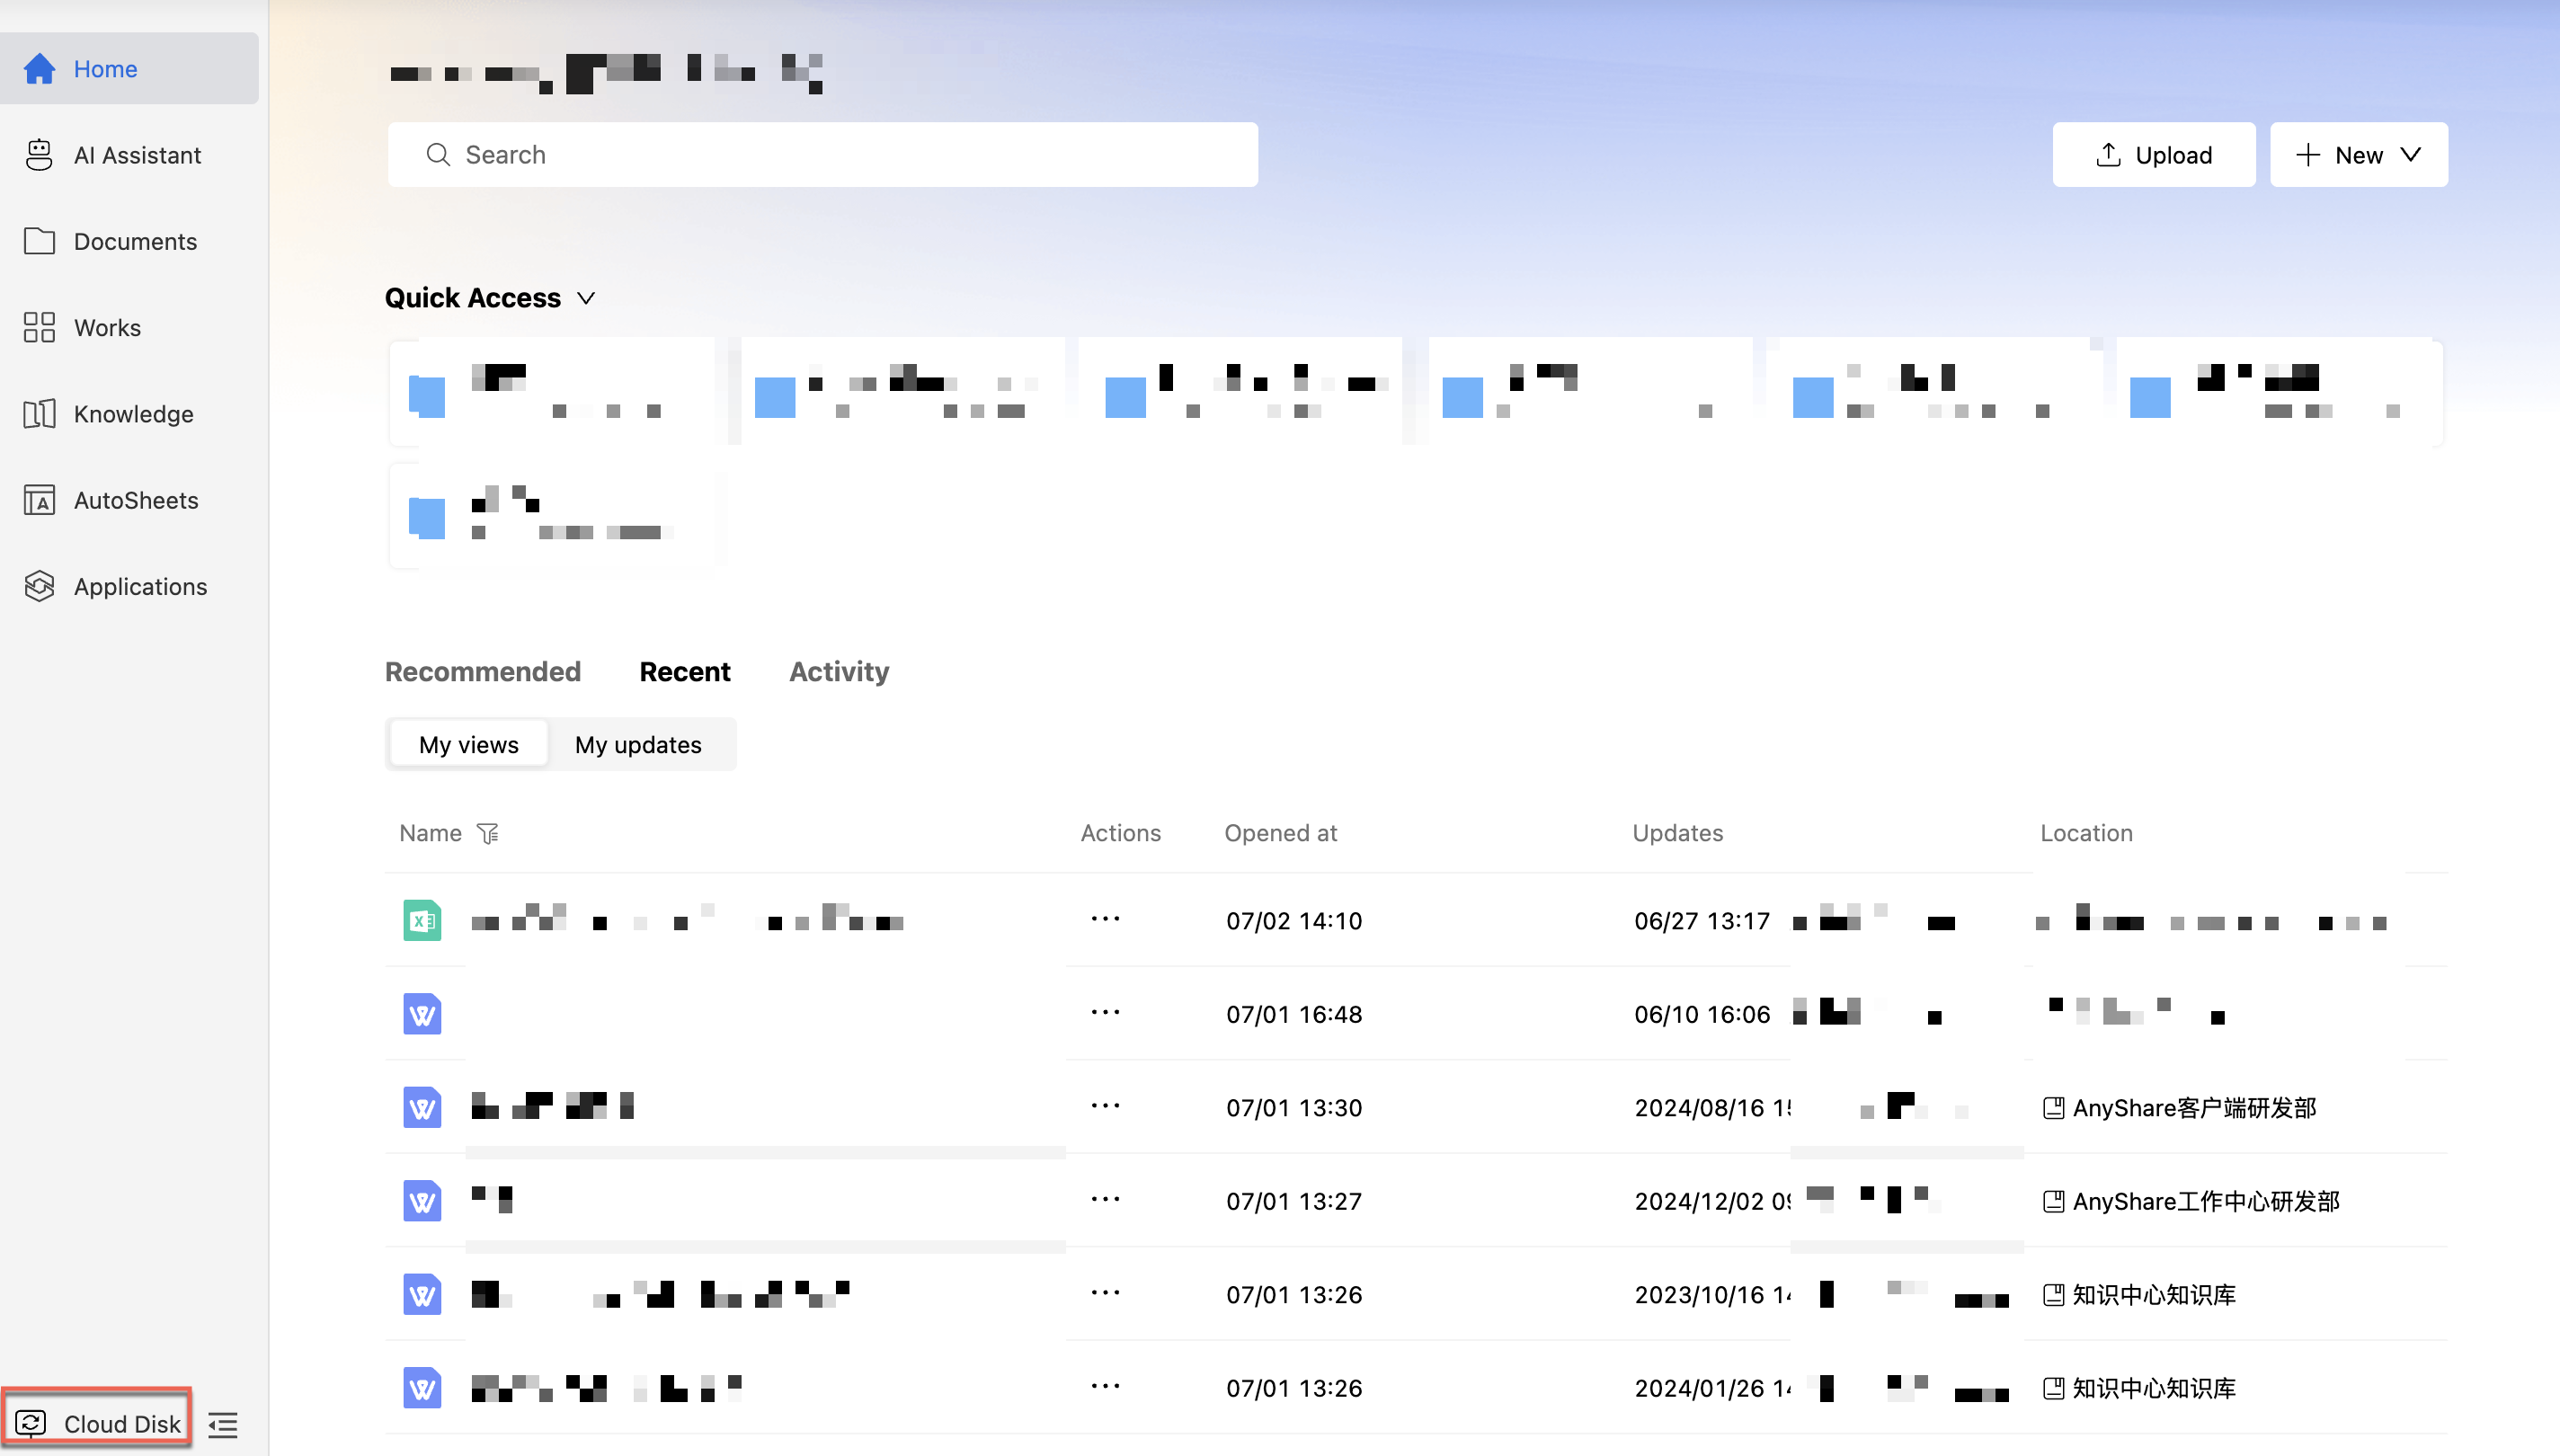
Once enabled, you can access categorized documents within the AnyShare directory.
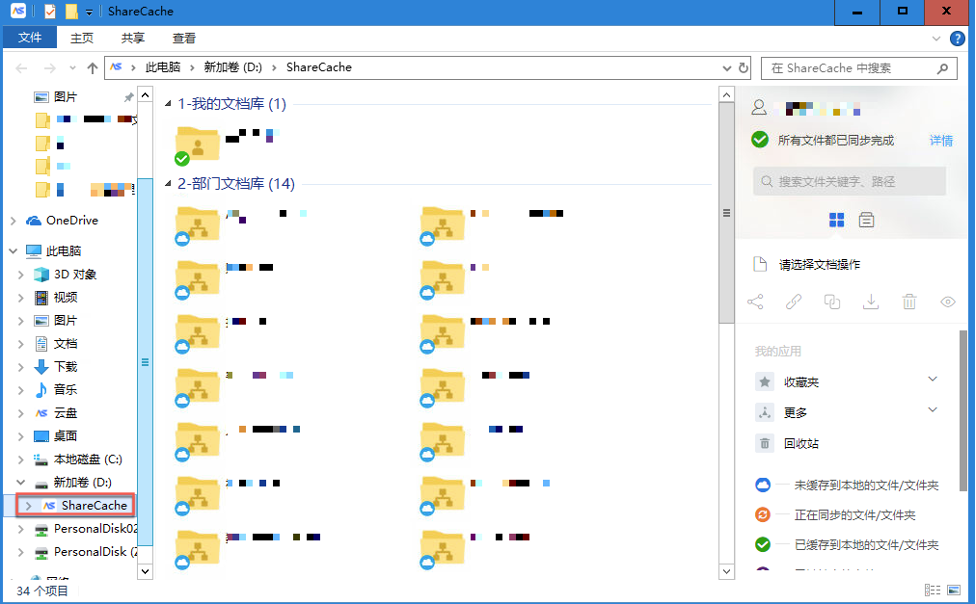
Cloud Disk Operations
After configuring the cache storage path, users can perform these operations in the Cloud Drive:
› File/Folder Upload
Supports direct and indirect upload modes:
• Direct Upload: Instantly transfers desktop files to the cloud (as shown below).

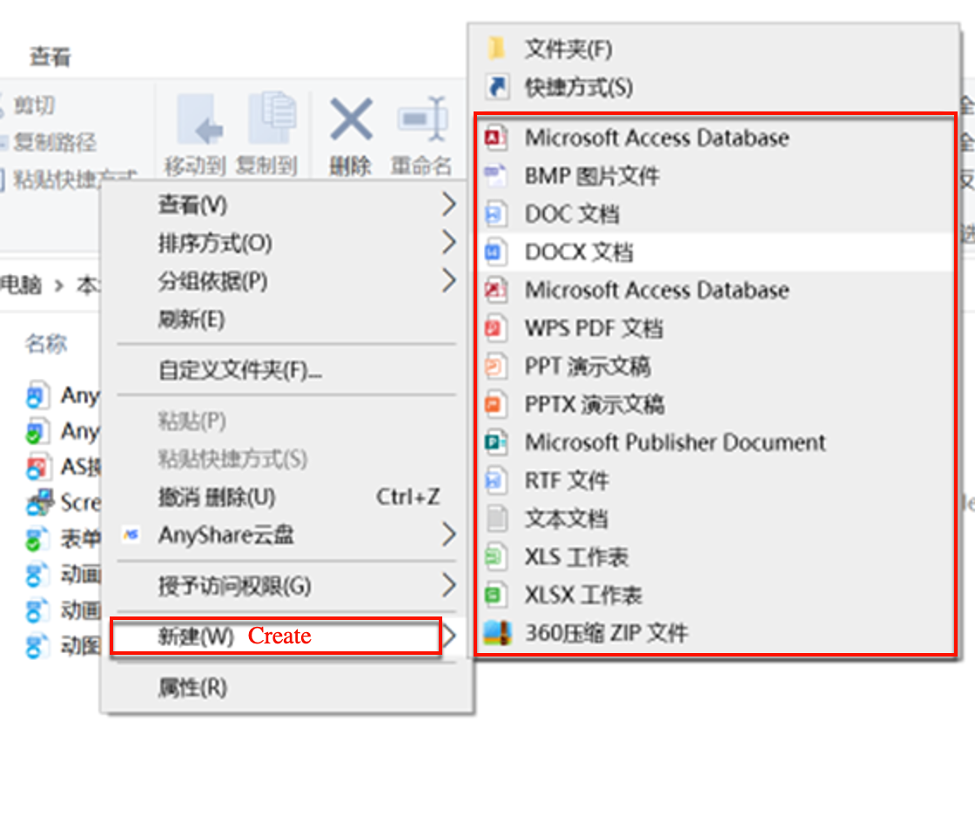
• Non-Direct Upload: Drag and drop files/folders into the sync directory or create new items within it to initiate uploads (as illustrated below).
Figure-Drag-and-Drop Upload
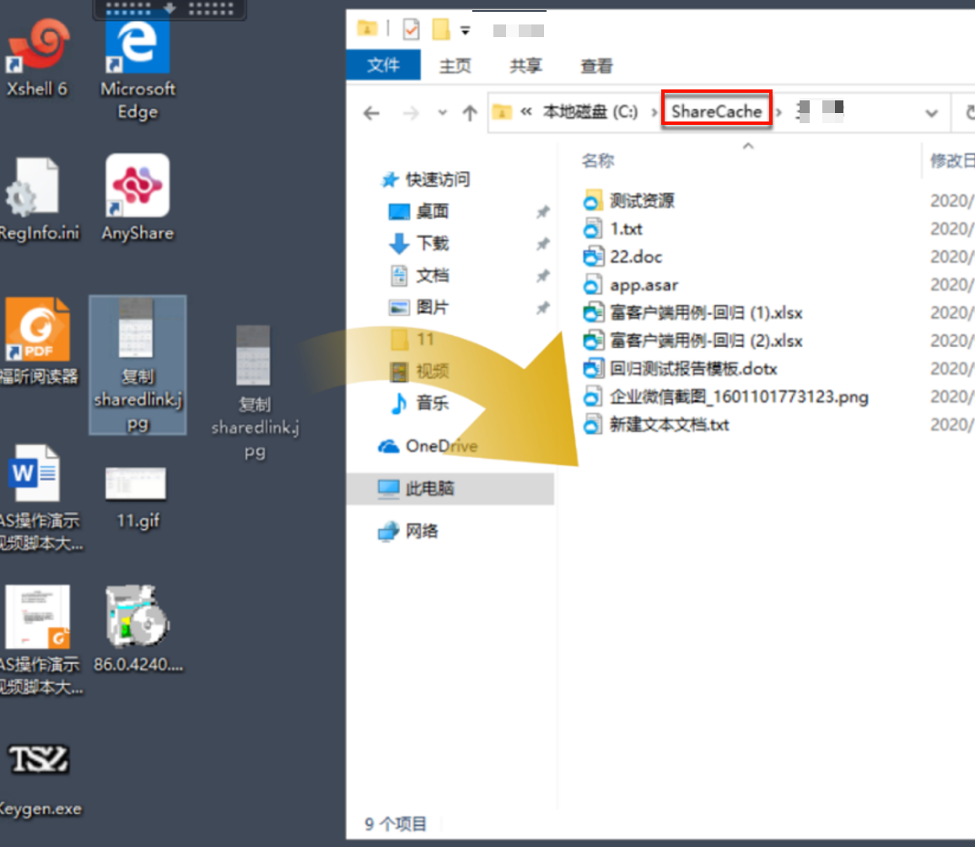
Figure-Create New in Cloud Disk
› File Editing (Offline & Locked Modes)
AnyShare supports offline file editing, allowing local modifications without connectivity, with automatic synchronization upon reconnection. Additionally, file locking prevents conflicts by exclusively reserving editing rights during active use, eliminating duplicate versions when multiple users attempt concurrent edits.

› Auto-Lock
To streamline bulk file locking scenarios, the Cloud Disk implements automatic locking: when file owners or authorized users double-click to open a file, the system instantly locks both the target file and its dependencies, releasing the lock upon file closure.
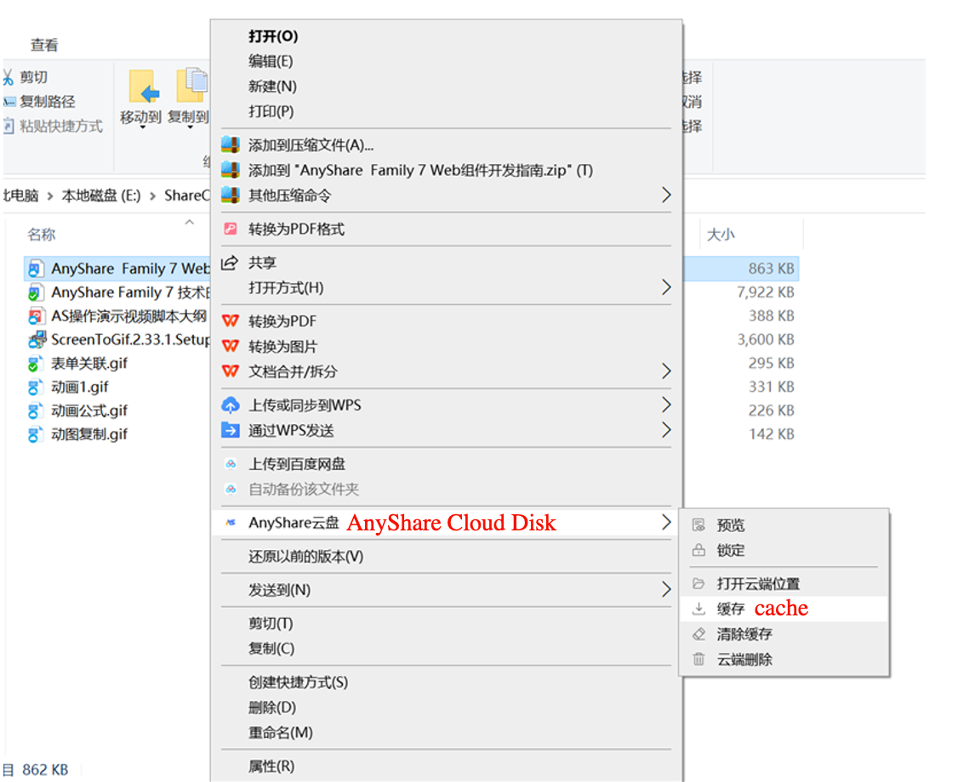
› Batch Caching
To cache multiple files simultaneously, select the target files, right-click to open the AnyShare Cloud Disk context menu, and click [Cache].
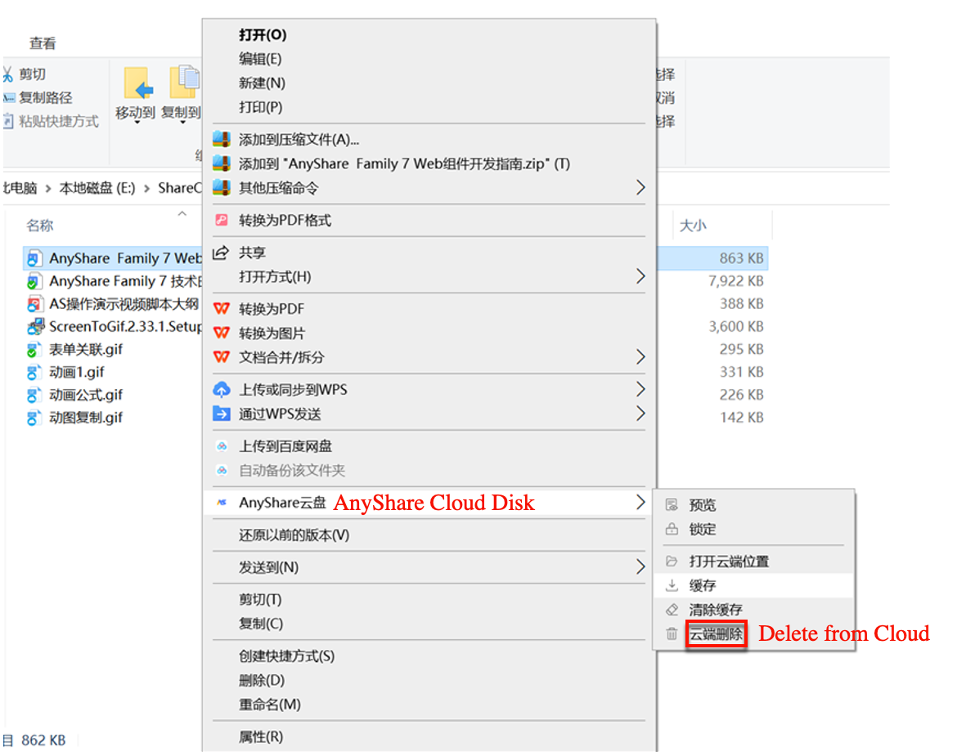
› Cloud Deletion
To delete files from the cloud storage, select the target file, right-click to access the AnyShare Cloud Disk menu, and select [Delete from Cloud]. Deleted files can be recovered from the system recycle bin.
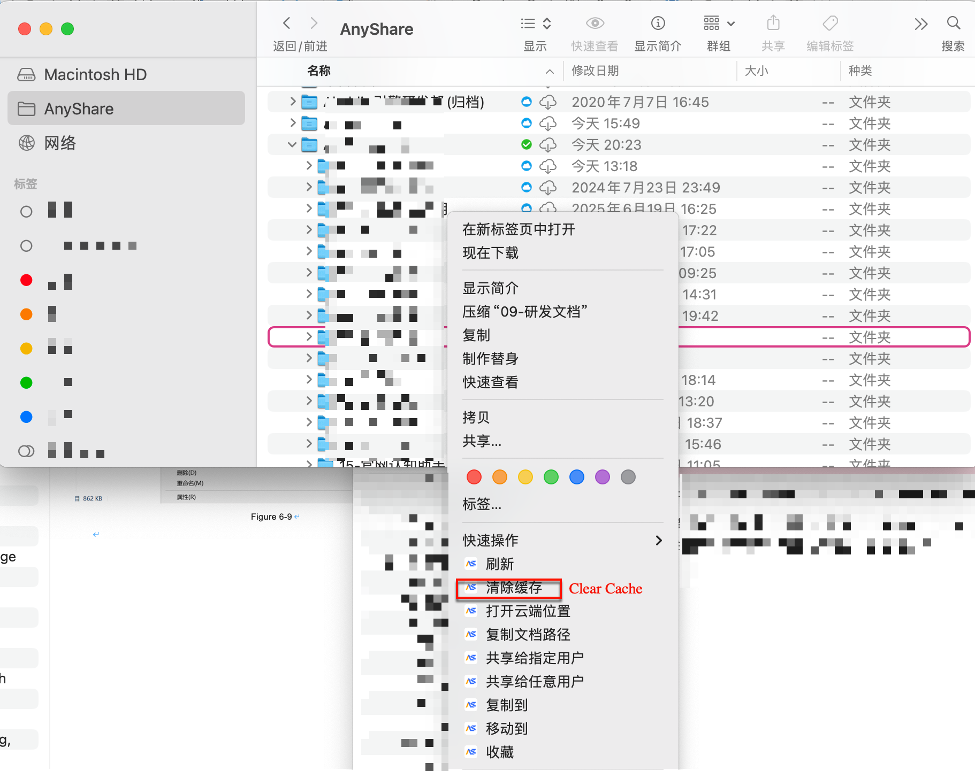
› Clear Cache
To remove locally cached files while retaining cloud copies, select the target file, right-click to access the AnyShare Cloud Disk menu, and choose [Clear Cache].
› Additional Tray Icon Functions
Right-click the AnyShare system tray icon to:
- View Sync Details: Monitor file synchronization status (in-progress, completed, or failed transfers) with options to pause/cancel ongoing syncs.
- Could Disk Settings: Configure synchronization preferences and network controls
› Local-to-Cloud Synchronization
Configure local and cloud directory paths in [Cloud Disk Settings] > [Local Sync]. Once added, the system automatically synchronizes changes bidirectionally - local modifications update to the cloud, and cloud changes propagate to local copies.
› Auto-Download Configuration
The [Cloud Disk Settings] > [Local Sync] page allows configuration of auto-download rules: users specify target directories and can set restrictions on individual file size/formats for automatic downloads. Once configured, all files in designated directories will download automatically upon AnyShare login, while non-configured directories require manual download initiation.
› Download/Update Policies
Users can configure automatic download rules for entire directory structures and set update policies for locally cached files based on operational needs.
› Deletion Rules
In the [Settings], users can configure deletion policies to either:
1. delete local files only
2. delete both local and cloud files simultaneously, or
3. adaptively deletion:
-
- local-only deletion when offline
- local + cloud deletion when online.
Additionally, users may enable automatic sync drive mounting upon rich client login.
Version Checking
Right-click the system tray > [About] to view.